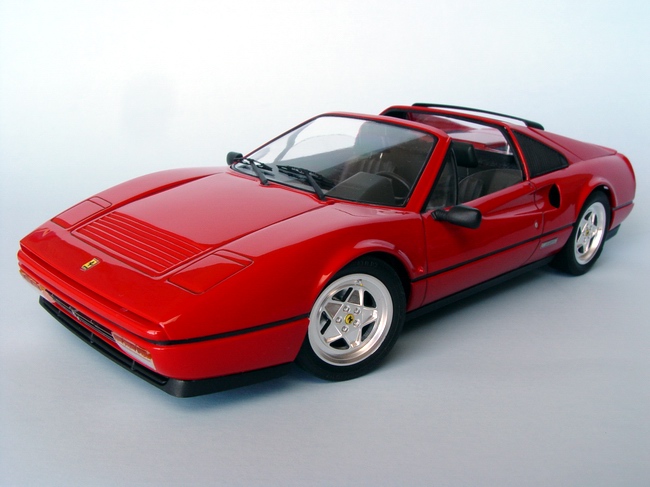
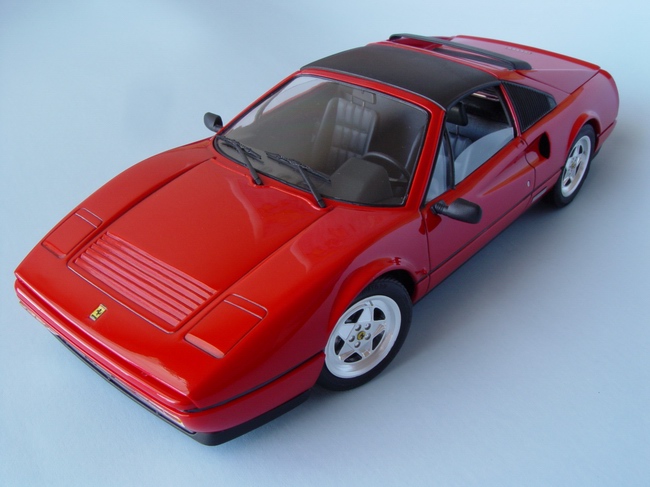
F e r r a r i 328 GTS
 |
 |
 |
|
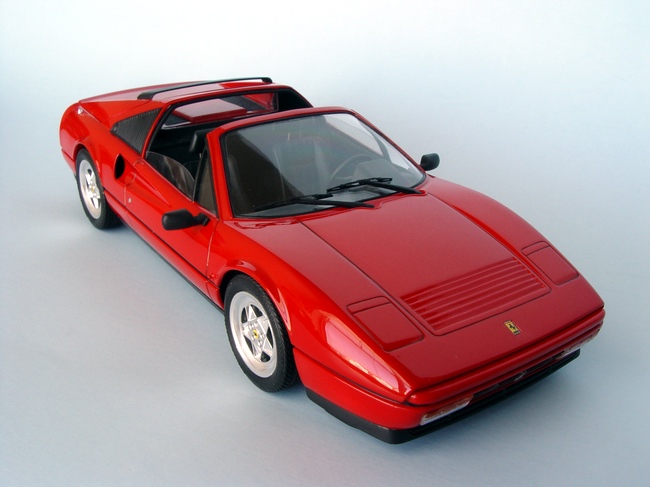
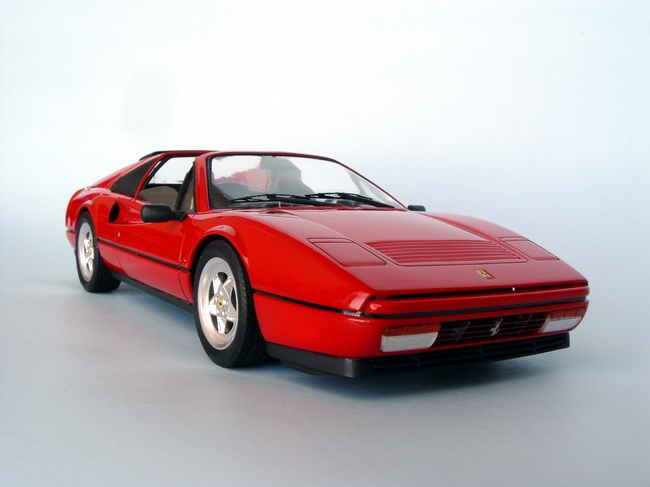
Kit: Hasegawa 1/24 Ferrari 328 GTS, kit #CA-4 Pros: Correct body proportions, clean moldings, almost no mold lines. Very good molded-in details. Great parts fit that rivals recent Tamiya kits - even tricky attachment of body to chassis was a snap! Soft Pirelli tires with correct thread pattern and side markings. Poseable front wheels. Realistic aluminum finish on rims and other plated parts. Detailed engine, thin glass parts, and to top it off - excellent photoetched tree with all badges, emblems, grille, engine lid mesh, etc. Thin and properly registered decals that respond well to setting solution (Microsol) and detailed instruction sheet with correct color guide (Gunze Sangyo colors). Cons: Front suspension assembly is tricky, especially is you modify shock absorbers, like I did in this model. Somewhat simplified dashboard and door panels. No GTS/GTB decal provided for the dashboard, and there are a lot of clear film around decals. No engine lid hinge - the lid could be assembled in either open of closed position. Verdict: Overall this is a wonderful kit, and if you are a fan of late 80's Ferraris - this is a must have. Even though there are some problems that need to be corrected - its nothing a seasoned modeler can't handle. Kit builds into spectacular replica out of the box, and with some additional detailing it looks simply stunning. Highly recommended! |
 |
 |
 |
|
|
 |
 |
 |
|
|
 |
 |
 |
|
Buildup
This buildup was also published in Model Cars November - December 2003 #90, Build a Ferrari 328 GTS
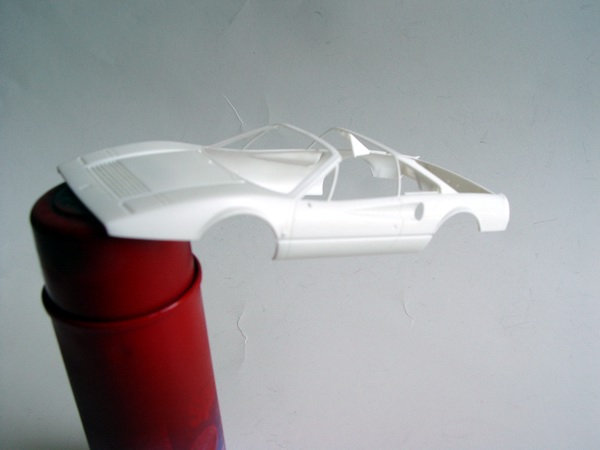 |
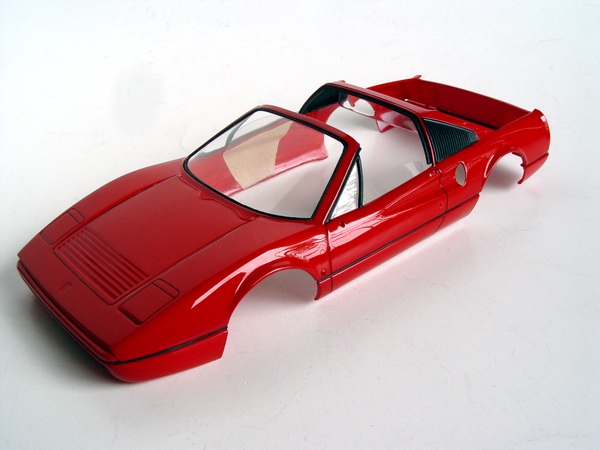
Body required almost no cleanup before first primer coat. I just sanded off panel lines with fine sanding stick, and removed some flash around side air intakes. Body was primed with a coat of Tamiya white primer, and lightly sanded with 3600 grit sandpaper to remove rough spots. |
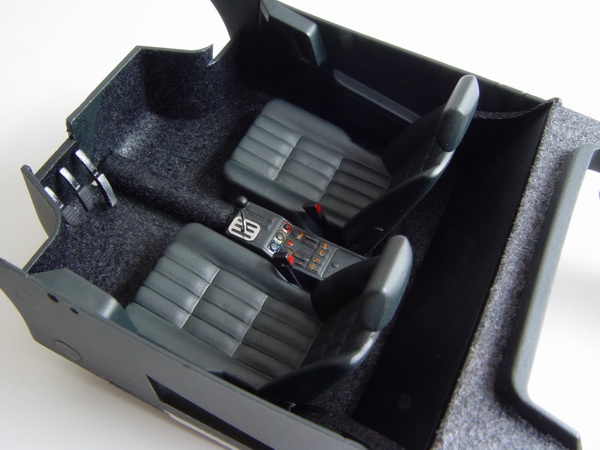 |
After door panels were glued to the interior tub, I detailed middle console with silver and transparent paints, installed pedals, and flocked package shelf with gray flocking. Plastic kit shifter was substituted with small metal pin, and was glued inside photoetched gate taken from Tamiya Ferrari Mythos kit. |
 |
Separate body parts such as bumpers and engine lid were also cleaned and coated with primer. Trunk lid had a slight depression in the middle and it became apparent only after first primer coat. I built up some more primer and block-sanded the surface smooth. Finally, I lightly primed the area after sanding. |
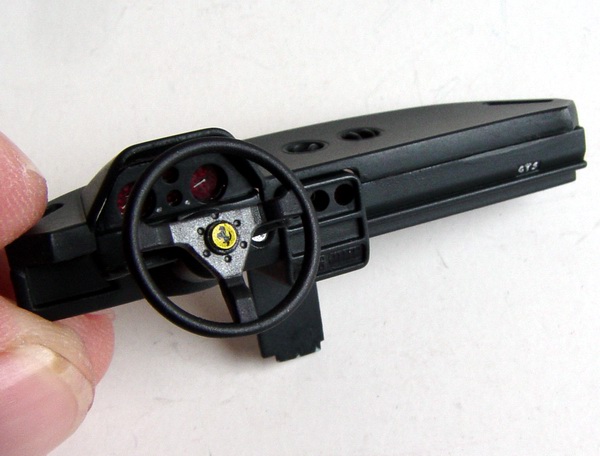 |
Dashboard was glued together and painted TS-63. Then I installed instruments (if I ever to build this kit again, I would replace the instrument cluster glass with thinner styrene), and steering column with previously painted and decaled steering wheel. |
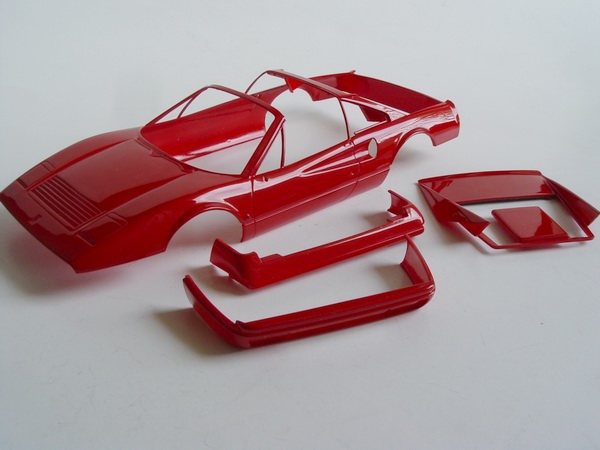 |
Three mist coats and two wet coats of Tamiya TS-8 Italian Red were sprayed on all body parts, and after paint gassed out for several days, I polished the paint to a glass-smooth shine with 3M polishing compound and Last Detail's "The Treatment" model wax. |
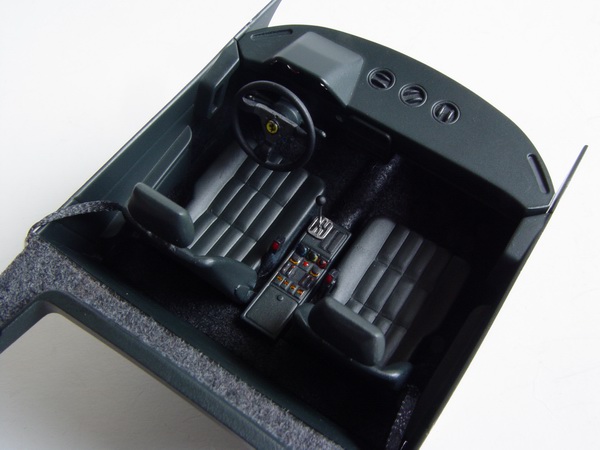 |
Dash was installed into the interior and it was complete. I was thinking of adding flocked floor mats, but couldn't find red flocking for Cavallino Rampante design. |
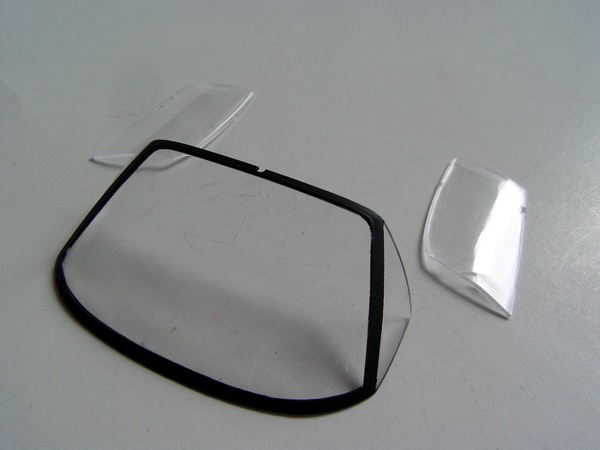 |
Glass was masked and sprayed with semi-gloss black. I also removed side windows, because they seemed very heavy and thick. I will later replace them with thin clear styrene. But do not throw away kit windows just yet - you will need them to trace the shape to the clear styrene sheet. |
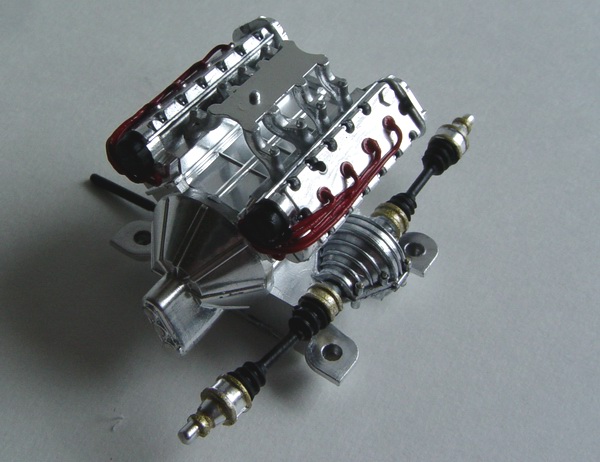 |
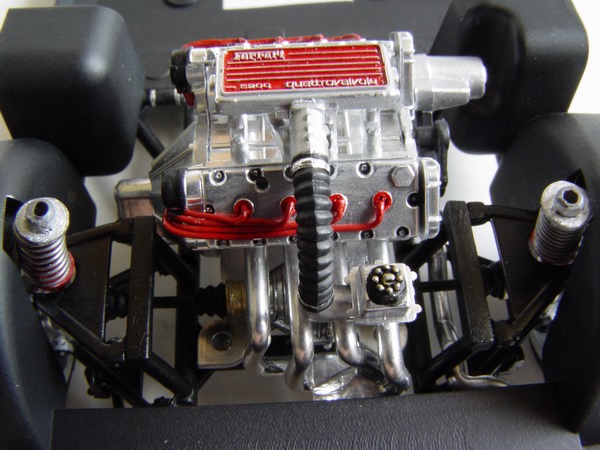
Engine block and transaxle was assembled straight out of the box. I threw away kit's plastic spark plug wires though, and replaced them with real wires connected to the distributors on both sides. |
 |
Then I darkened panel lines with acrylic wash (red/black mix), painted all window rubbers and trim with satin black and installed all glass and other minor details to the body. Note side windows test-fitted with masking tape to the body. |
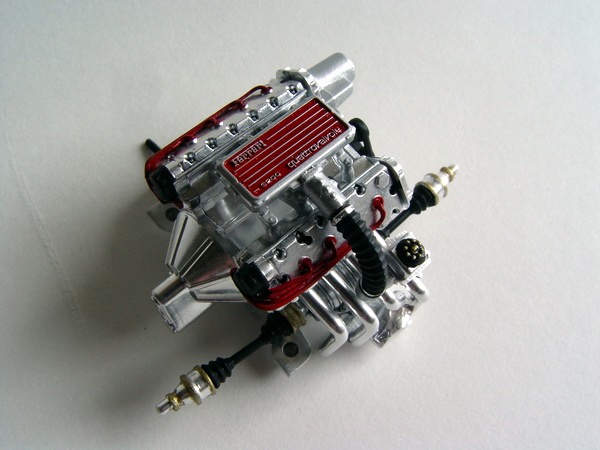 |
Then engine was equipped with fuel injection, generator, set of belts and pulleys (all kit parts) and detailed with BMF (clamps). |
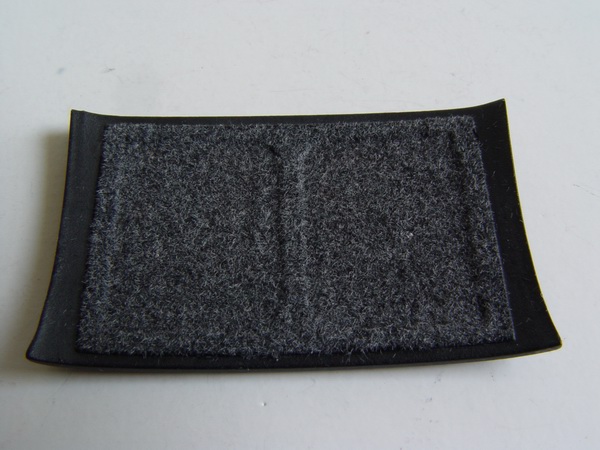 |
Removable targa roof was painted with mix of satin black and flat black and underside was flocked with Detail Master gray flocking to simulate headliner. |
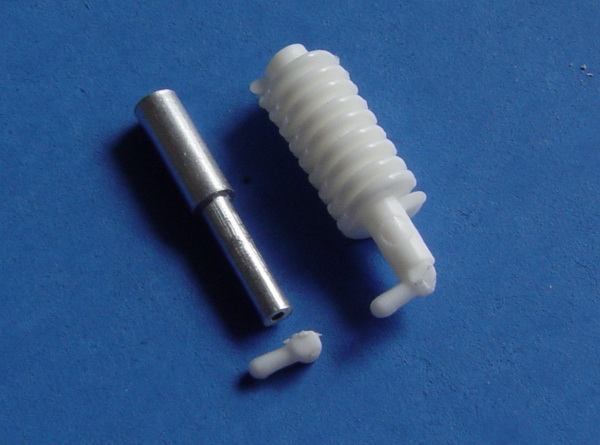 |
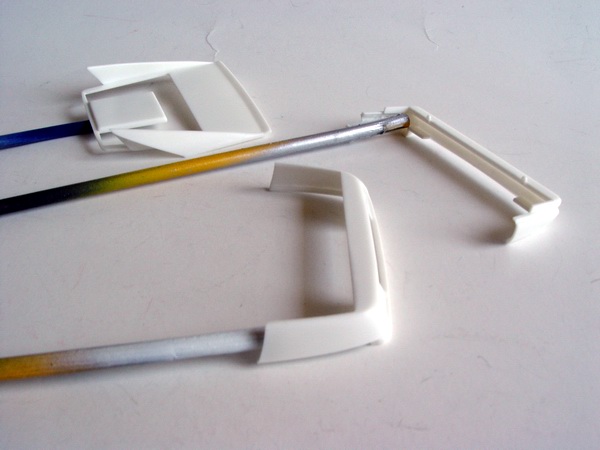
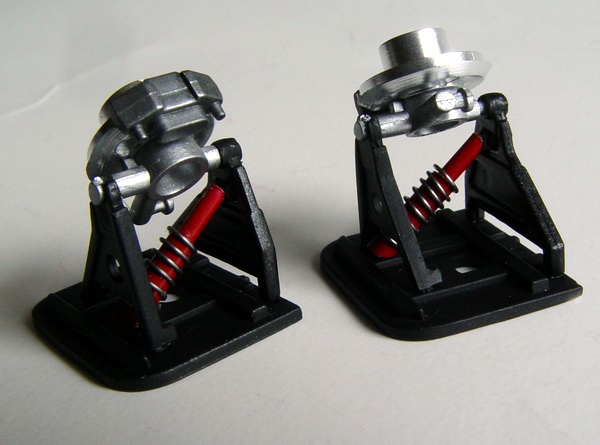
Kit shock absorbers looked too heavy, so I used some aluminum tubing to create the body of the shock, saving only mounting tab from the plastic part. |
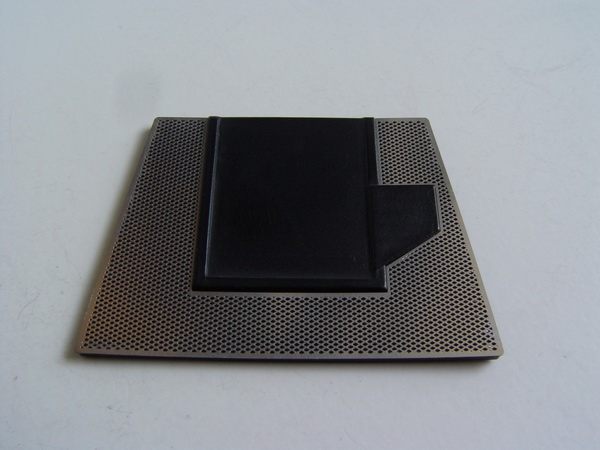 |
Engine lid vent was also painted satin black, and fitted with photoetched mesh. Instructions tell to paint the mesh black, but almost all cars in my reference pictures had aluminum-colored mesh. |
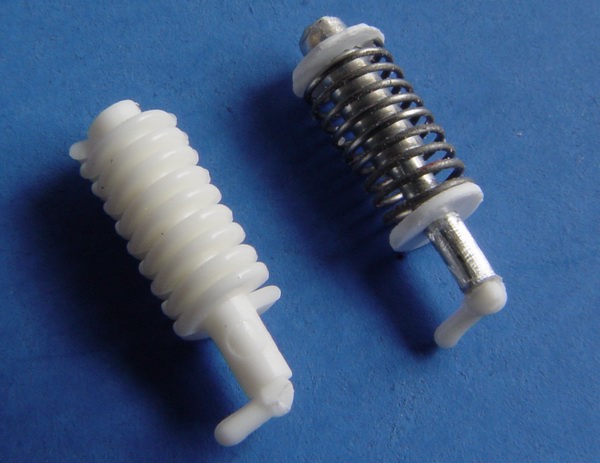 |
Using thin wire wrapped around the brush handle for the spring, and tiny washers made from sheet styrene I constructed new shocks that looked much more realistic. |
 |
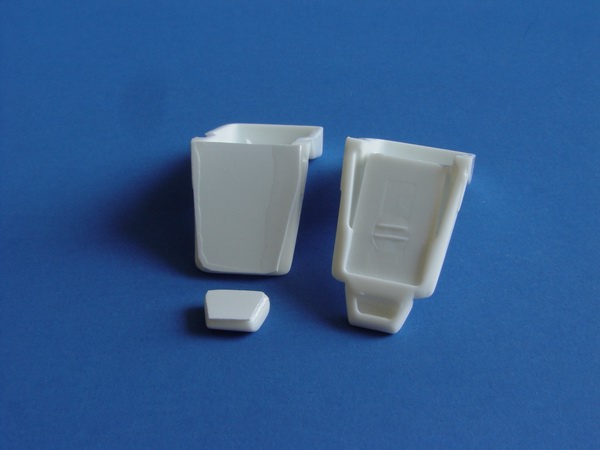
Vent assembly was installed to the engine lid, and the part of the lid that covers the trunk was painted gray, and then flocked with gray flocking. |
 |
The shocks were painted and installed to the chassis, along with the engine, gas tanks, and rear suspension. |
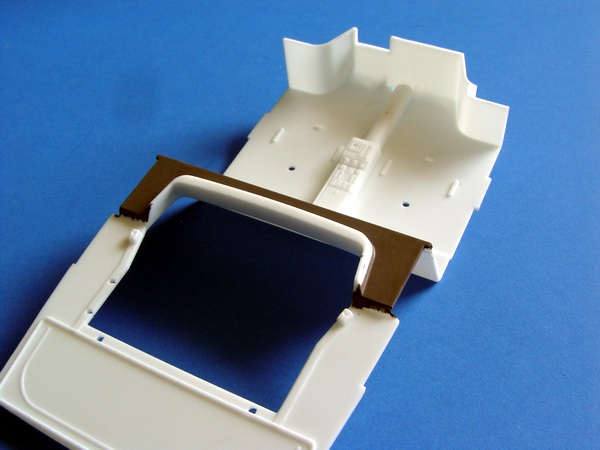 |
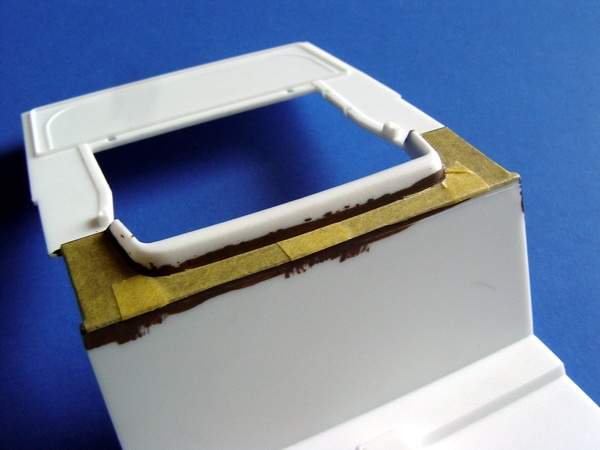
Package shelf was painted dark brown before application of the main interior color. Later, the shelf will be flocked with gray flocking, and brown paint underneath will give me correct, slightly brownish gray color. |
 |
Front suspension sub-assemblies were fitted with shocks re-worked in a similar fashion as the rear ones. Brakes were detailed with Testors metalizers. |
 |
The area was masked with Tamiya masking tape, and interior was painted Tamiya TS-63 NATO black (its a semi-gloss color), and flat black from the underside (it will partly show in the engine bay). |
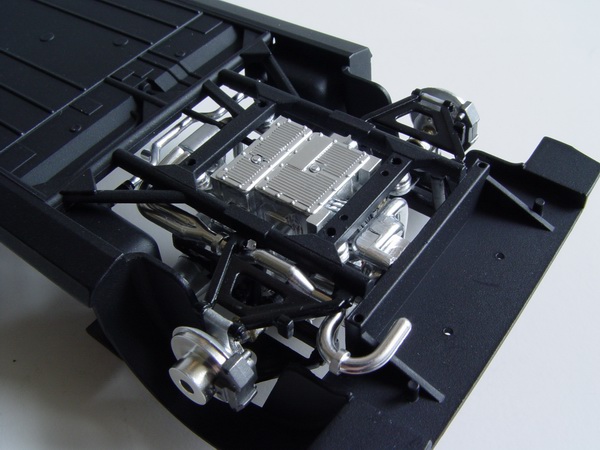 |
Rear suspension was also fitted with brakes, and then I routed exhaust pipes trough the frame. It was really complicated task, so I suggest to attach them to the engine before installing it to the chassis. |
 |
Seats were re-worked. I cut off the headrests, and made seatbacks and headrest backs from sheet styrene. When glue dried, styrene was sanded smooth. |
 |
Front suspension was glued to the chassis and connected to the steering rack. Wheels were also installed at this time. The fit is really tight, so make sure to put the wheels on very carefully so you won't break fragile front suspension arms. |
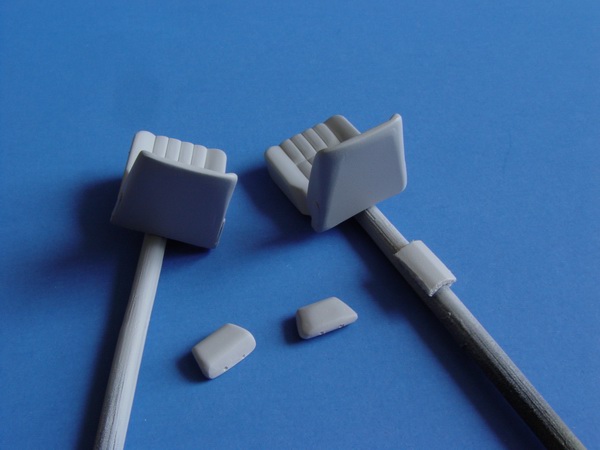 |
Both seats and headrests were primed with Tamiya gray primer to reveal any irregularities. I corrected some minor flaws, and re-primed the parts. Then I drilled two holes in both headrests and seat backs with #78 drill bit. |
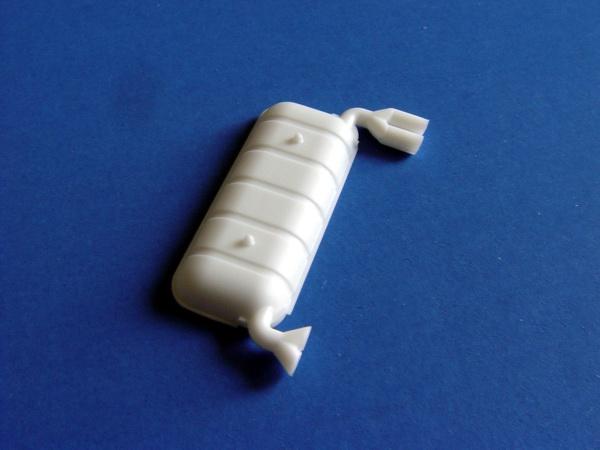 |
Muffler halves were glued together, and exhaust tips were cut off. They are molded closed, and will require either drilling out, or replacement with aluminum pipes. I chose to replace them with the pipes. |
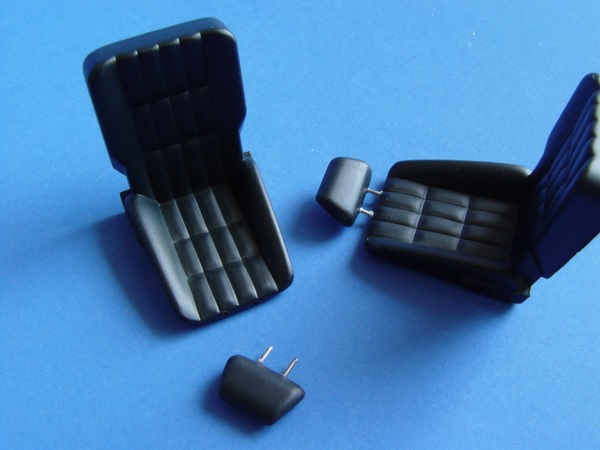 |
Seats and headrests were painted with TS-63. To simulate headrest support rods, I cut two pieces of thin wire and glued them into headrest with CA glue. Make sure the rods are the same length. The other end goes into the seatback. |
 |
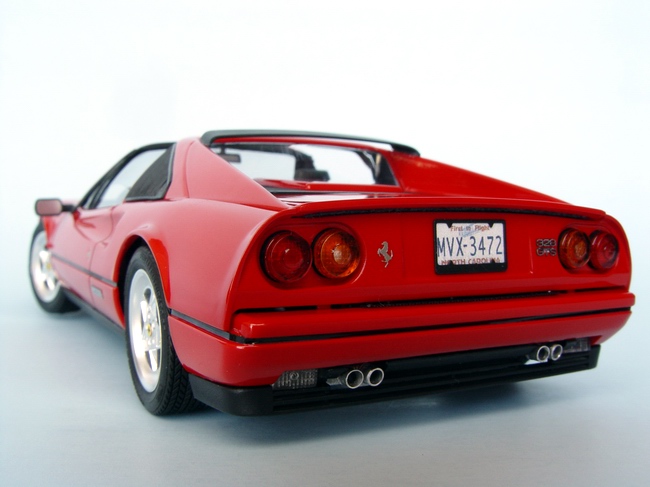
At last, body was glued to the chassis, and I started adding little details. Taillights were painted with Tamiya transparent paint and backed with aluminum foil to make them reflective from the inside. Scripts and badges, along with custom license plate and frame were also added at this time. Note aluminum exhaust tips. |
 |
Seats were also fitted with scratchbuilt seatbelt catches, and installed into the interior that was previously painted with TS-63 and then flocked with DM black flocking. |
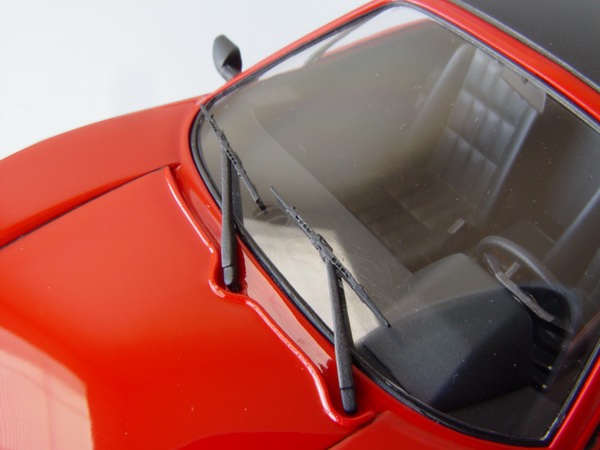 |
Kit wipers were discarded. I used Detail Master 4-piece photoetched wipers that look very realistic. Side mirrors were fitted with photoetched faces and glued to the body. |
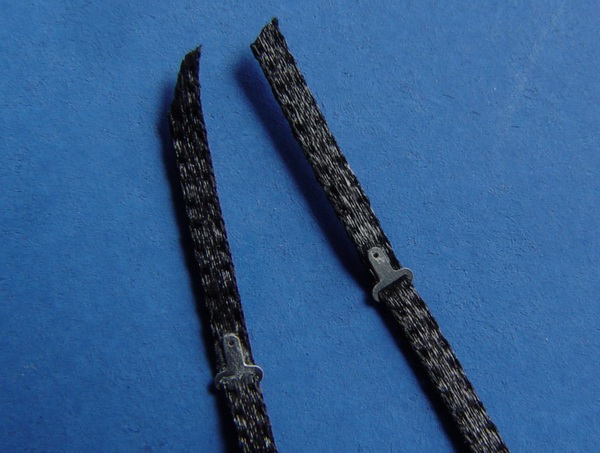 |
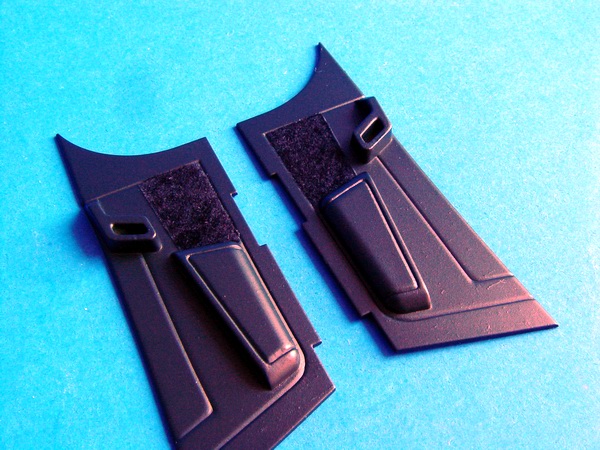
I used 1/32 inch black ribbon from a craft store and Detail Master photoetched buckles to create a pair of seatbelts. |
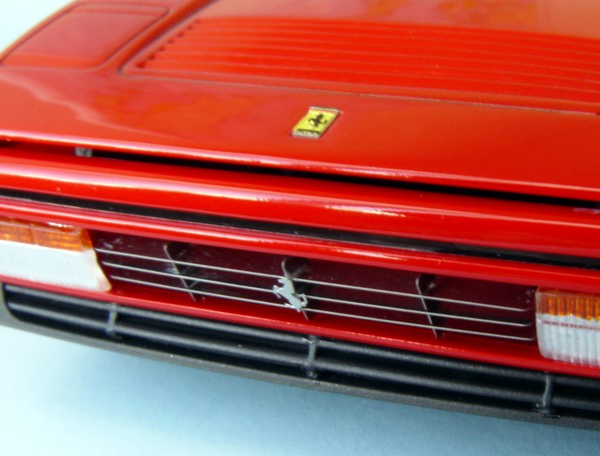 |
Photoetched grille insert was assembled from six separate pieces, installed in the front bumper, and topped off with PE prancing horse. Fog lights were also backed with BMF and painted with clear orange. With the help of Microsol, Ferrari emblem decal settled nicely over engraved PE part creating very realistic tiny 3D emblem. |
 |
Then seatbelts were glued to the rear bulkhead (it contains seatbelt release mechanism in the real car), and to the interior floor just behind the seat. The seatbelts were positioned so you could see the PE hardware easily through the open top. |
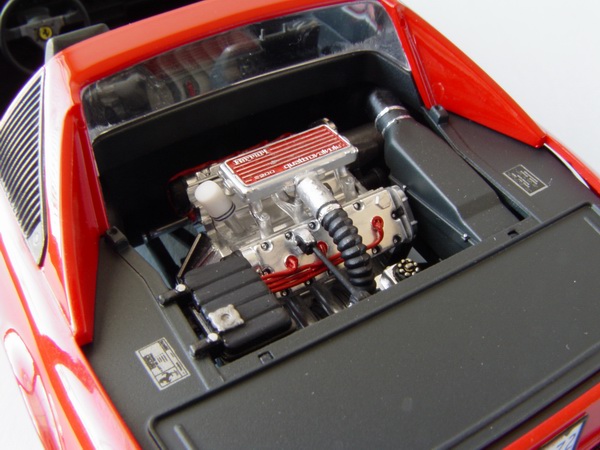 |
Engine bay was accessorized with decals, BMF, and detail painting. I also scratchbuilt an oil filter from the piece of the tree. Finally, motor mount, coolant tank and air box were added. |
 |
Door panels were also painted with TS-63, and then flocked with Detail Master black flocking. |
 |
Finally I added photoetched Pininfarina badge, keyholes, and installed side windows. Model was lightly waxed to remove fingerprints. Finished model looks very realistic - a tribute to Hasegawa's wonderful kit. |
Copyright 2003 Alex Kustov. No copying or reproduction in any shape or form without written permission of the author.