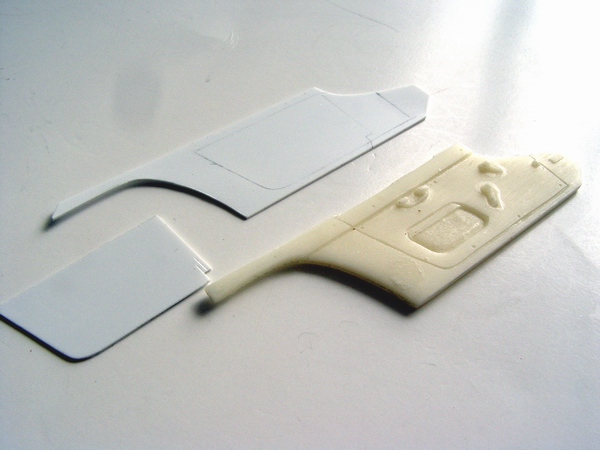
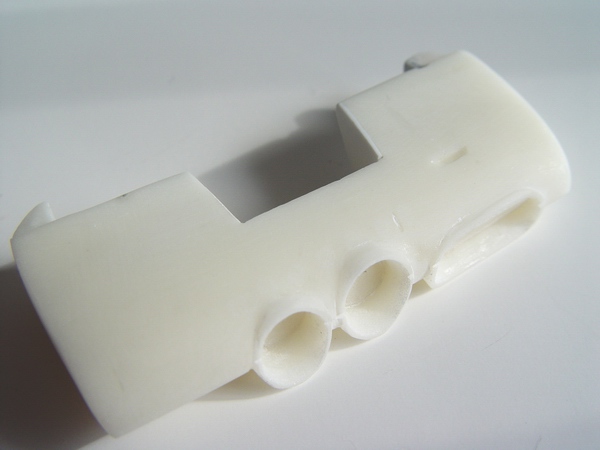
While fitting leather to the cargo area, I realized that door panels should be covered in leather too. Supplied resin panels had very poor detail, and their fit was slightly off, so I decided to scratchbuild new panels. I cut the panel template from sheet styrene and then another template of the door. Then I traced the door contours to the door panel.
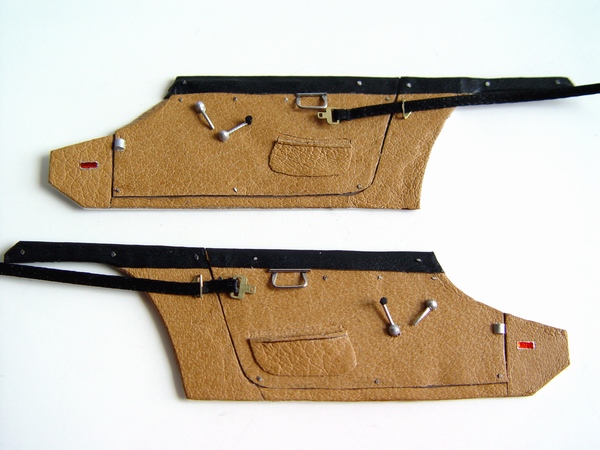
Finally I made the seatbelts using photoetched buckles provided in the kit, and craft store black ribbon. Belts were threaded through the kit-supplied photoetched brackets glued to the door panels.
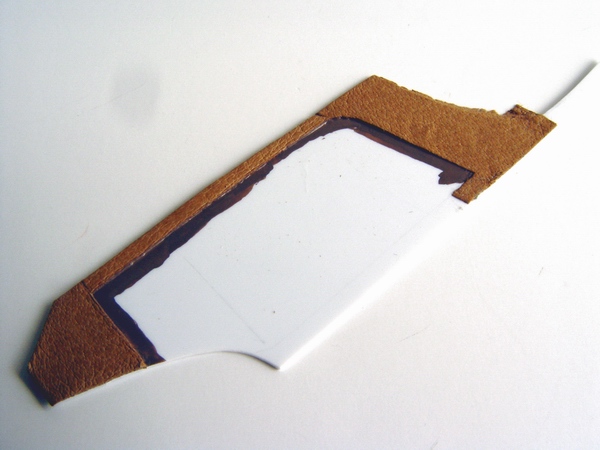
Using my thinned leather I glued the pieces to the door panel, except the door area itself. Then I used dark brown paint to darken future "panel line" between door and the panel.
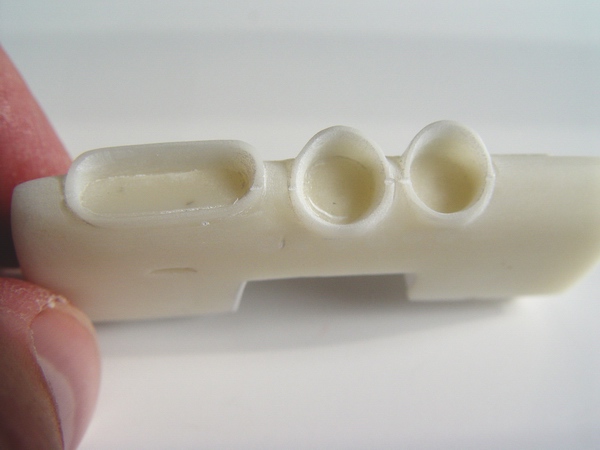
With the door panels finished, I started working on the dashboard. I already added the firewall made from sheet styrene when I was modifying the chassis, so I turned my attention to the interior side of the dash. All little details and knobs were shaved.
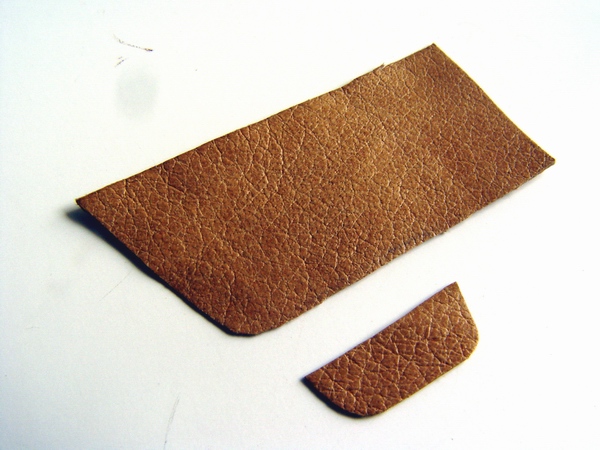
Using my plastic door template, I cut leather door, and also a small leather door pocket.
This left few depressions in the resin, and I carefully filled and sanded every part of the dashboard to make it smooth and ready for primer.
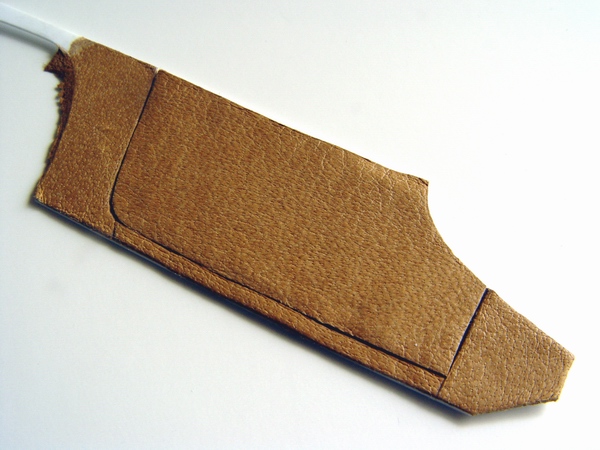
When I glued leather "door" to the panel, it created a nice "panel line" pre-shaded with the brown paint. Now I needed to decorate the panels.
I carefully sanded around the vents on top of the dash, and around the tachometer and speedometer bezels. Using fine sanding stick I blended the styrene firewall with the resin dashboard. Few spots were puttied and sanded.
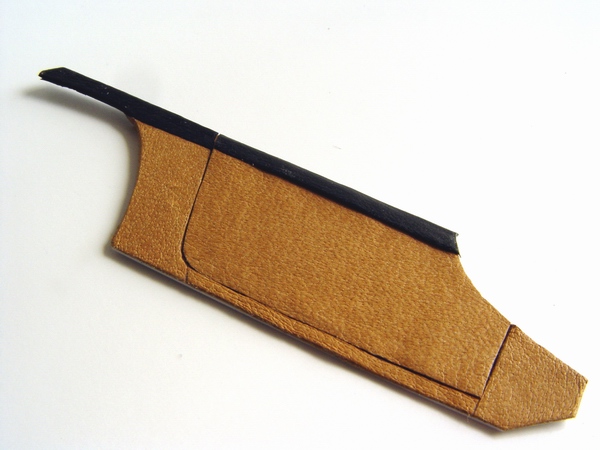
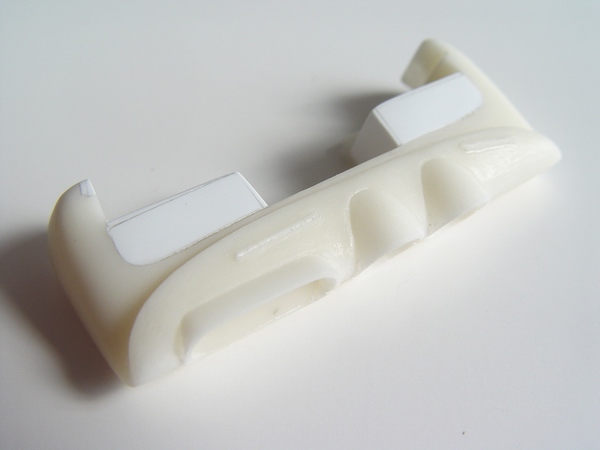
Top trim was also made from leather (black leather) just like on the real car. I cut the strip of skived leather and carefully glued it on top of the door panel.

After a coat of Tamiya gray primer and two coats of Color Place flat black, I sprayed some CP flat black from the distance of about 3 feet to create slightly textured finish (leather) on the dash.
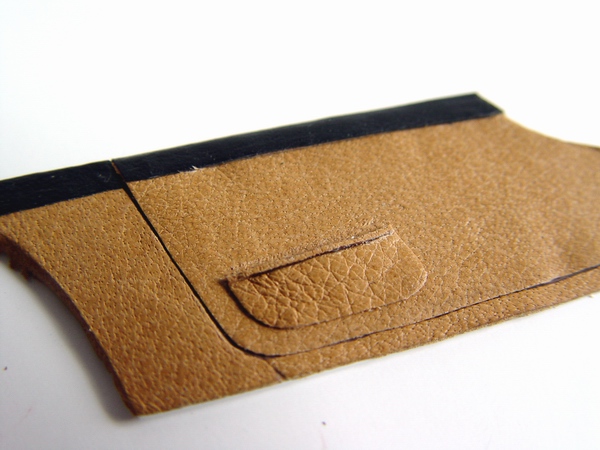
Map pocket was carefully glued to the door, and then I added a very thin strip of leather to the top of the pocket to simulate the trim. I also wanted to put a magazine, or the map in the pocked, but forgot!
As you can see from this picture, the texture is very similar to the leather. Sanding and puttying work paid off - the dash was really smooth.
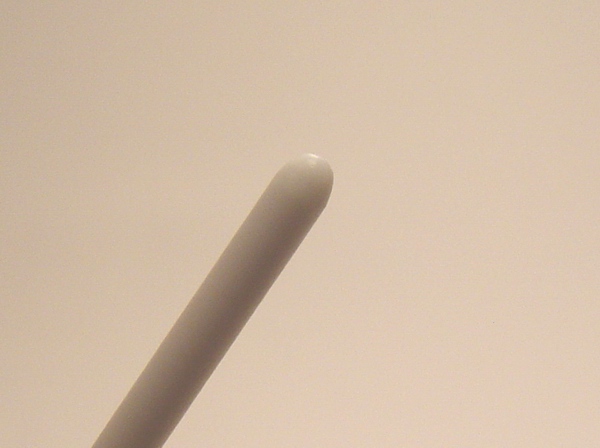
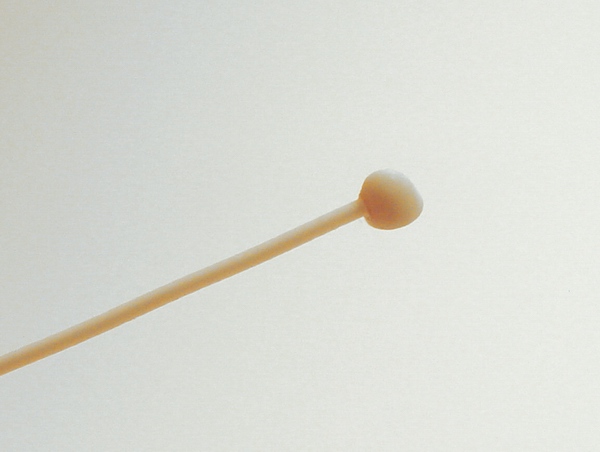
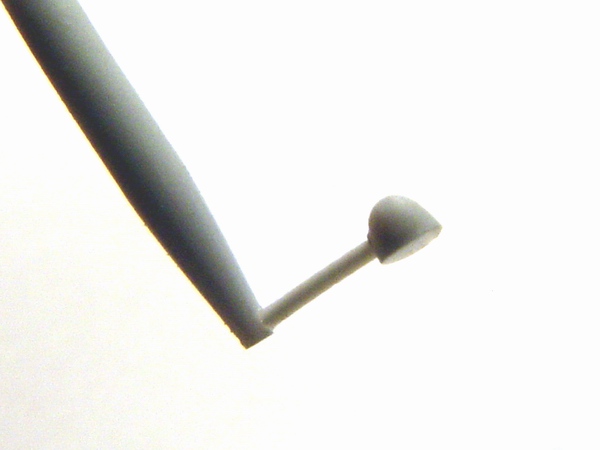
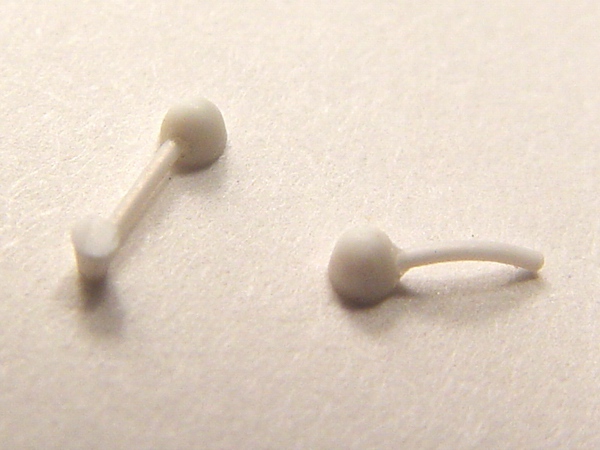
Now I had to build some nice window cranks and door handles. I decided not to use photoetched sets, they always looked a bit flat to me. I created my own cranks and handles from cheap materials with little work. First, I rounded the end of plastic rod with sanding stick.
To recreate the knob's chrome bases that I shaved in the beginning, I used some tiny photoetched rivets (they were sort of "O" shaped, with the depression in the middle), and glued them to the dash. Knobs were made from styrene rod (sanded to the pointed end).
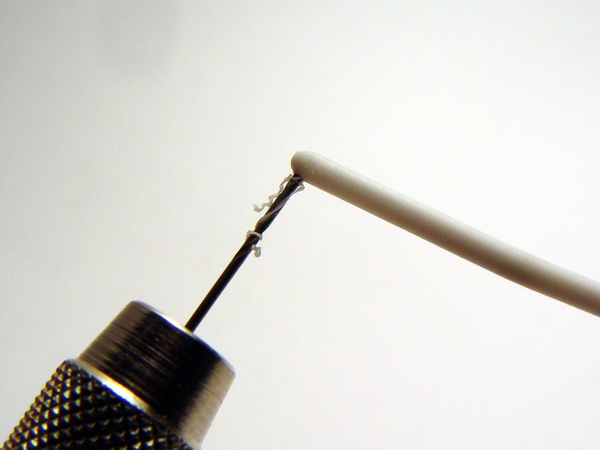
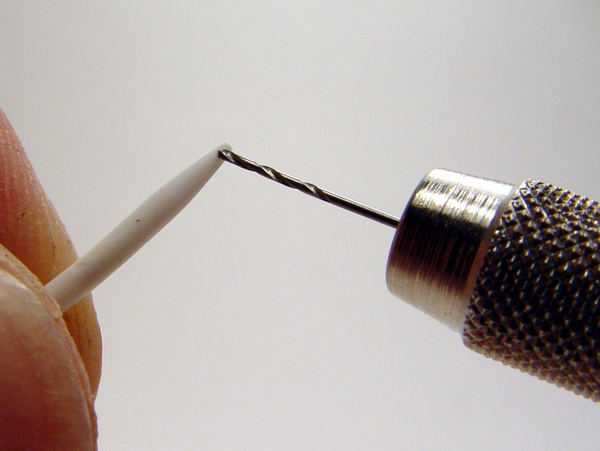
Then using #80 drill bit I drilled a small hole in the rounded part using my pin vise. Care is required for this operation - it is very easy to drill through the rod, or have the drill bit slip.
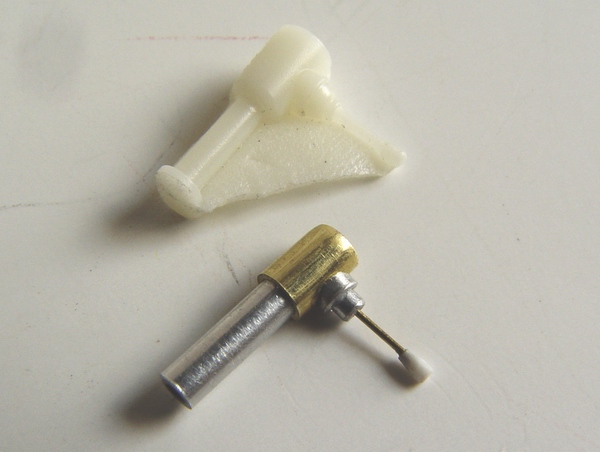
Resin steering column was not crisp enough, so I scratch built a new one using different aluminum and bronze tubing. Turn signal stalk was made from metal rod and plastic rod.

Then using chisel-shaped cutter (or modeling knife) cut the top portion right after the hole. Cutting the top at a 90 degree angle helps to avoid sanding.
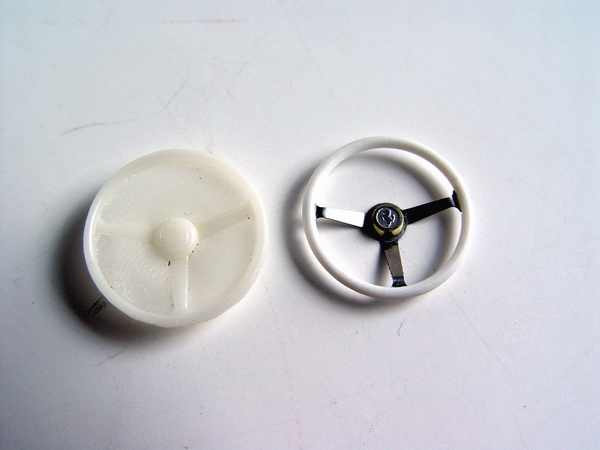
Steering wheel was substituted with Gunze Sangyo photoetched wheel, topped with a piece of aluminum tubing and a photoetched Cavallino Rampante from Gunze Ferrari 250 GTO kit.
Then I glued some coated wire (Radio Shack variety) into the hole that I drilled in the picture above.
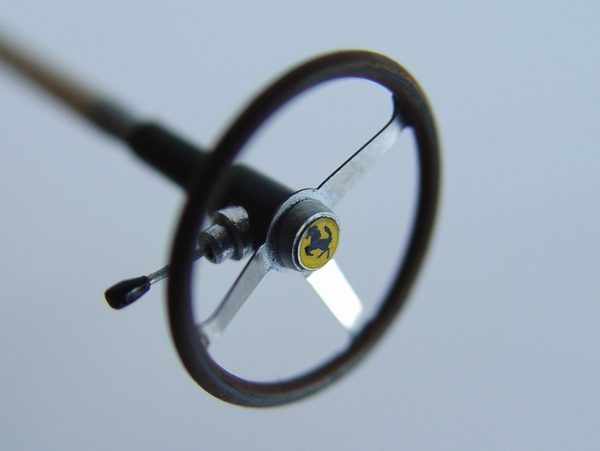
Steering wheel was glued to the column, and painted with Tamiya acrylics. I also added Cavallino decal (soaked in Microsol) from Revell 360 Modena kit over the photoetched piece.
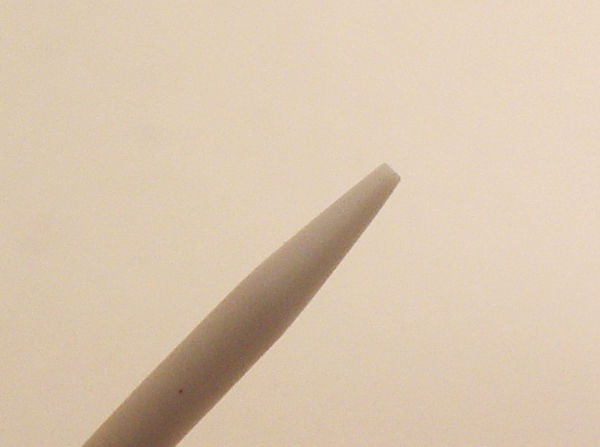
Then I clamped styrene rod into the motor tool and using sanding sticks sanded it to the cone shape Then I cut the very top of the cone.
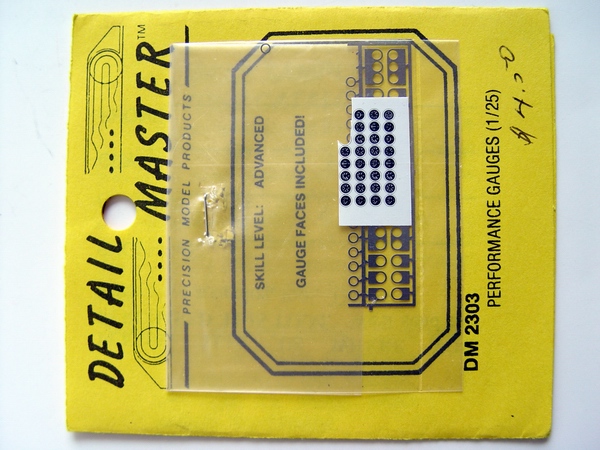
For the instruments on the dashboard I used Detail Master performance gauges set. Set provides some finely printed gauges with photoetched metal surrounds.
Again, with the smallest drill bit (#80) I drilled a tiny hole close to the very end of the rod.
Photoetched circles were carefully cut off the tree and sanded. Then I glued them to the gauges, and cut off excess paper.
Then I glued the other part of the crank to the hole and sanded the bottom of the crank so both parts are same length. All I had to do now is to cut the rod so it looks like a handle for the window crank.
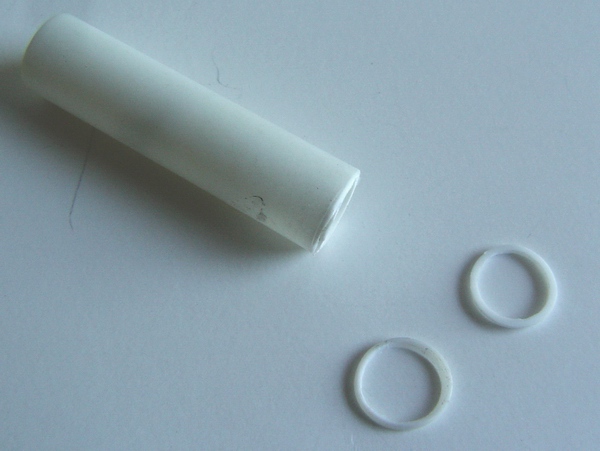
Speedometer and tachometer have chrome rings around them on the real car, so I used suitable diameter plastic tubing and sliced off two small circles.
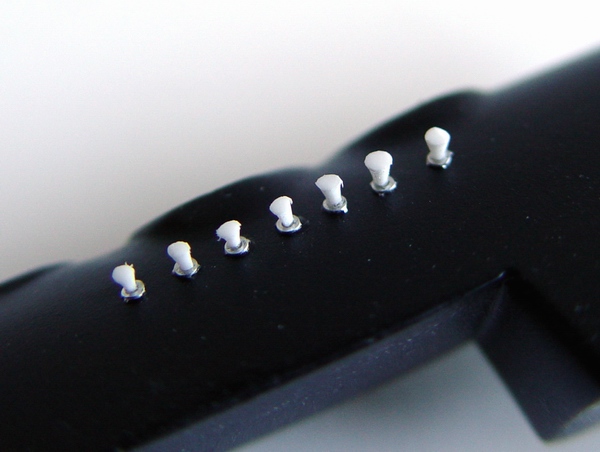
Using the same technique I made few door handles, as you can see on the picture. Then I painted them with silver and black paints for very realistic-looking cranks and door handles.
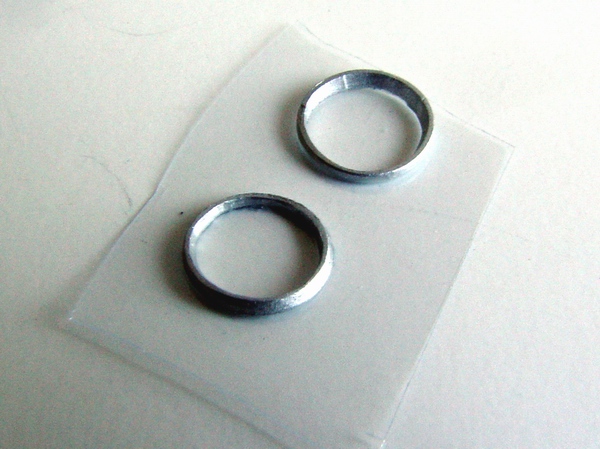
Then I painted the rings with Testors Chrome, and glued them to the sheet of clear plastic - this will serve as instrument's glass.
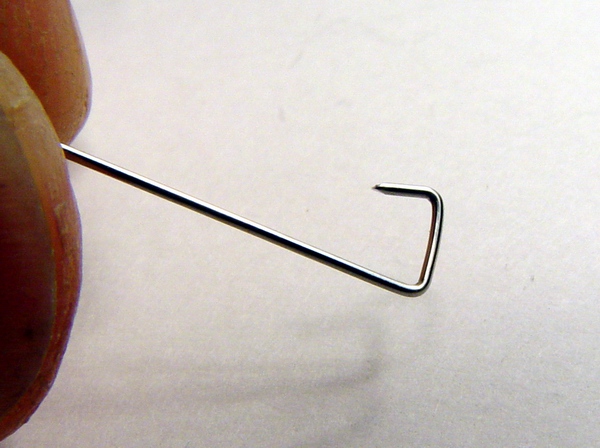
Next type of door handles was made from thin metal rod. I bent the basic shape from the wire with needle-nosed pliers...
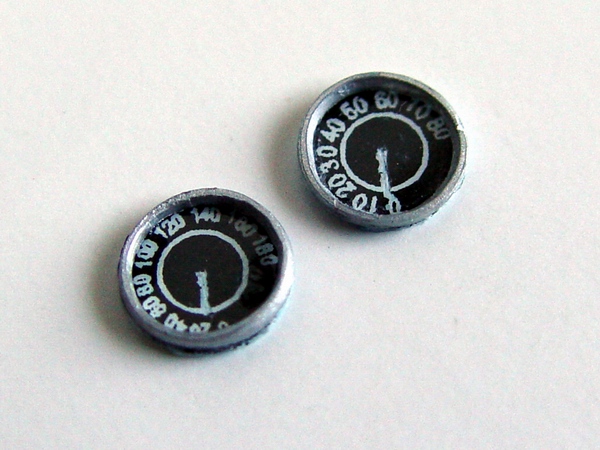
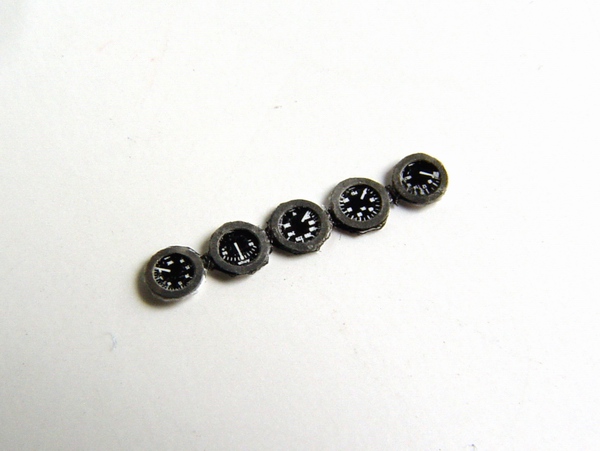
Rings were carefully cut out and glued over kit-supplied tachometer and speedometer decals (not the best quality, but they were the right size).
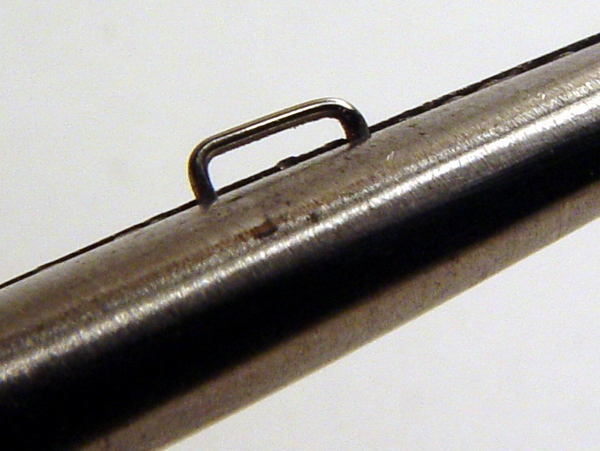
... cut the handle off, and squeezed both ends with the pliers to make them flat. Then carefully sanded the ends to remove pliers' marks and restore the shine. I also used the same wire to make a base for the handle.
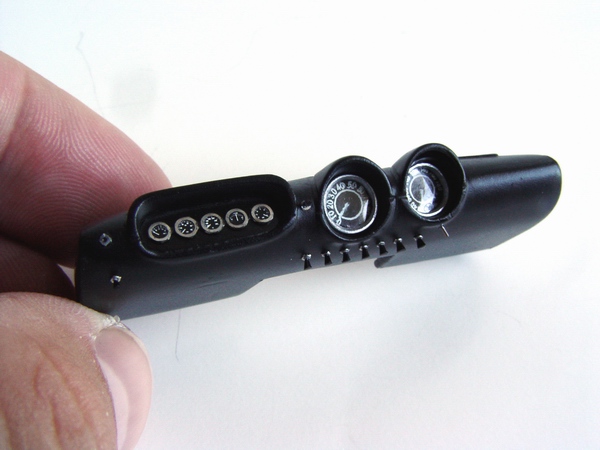
Then both instruments were installed on the dash, together with five other gauges in front of the driver. You can clearly see glass over gauges in this picture.
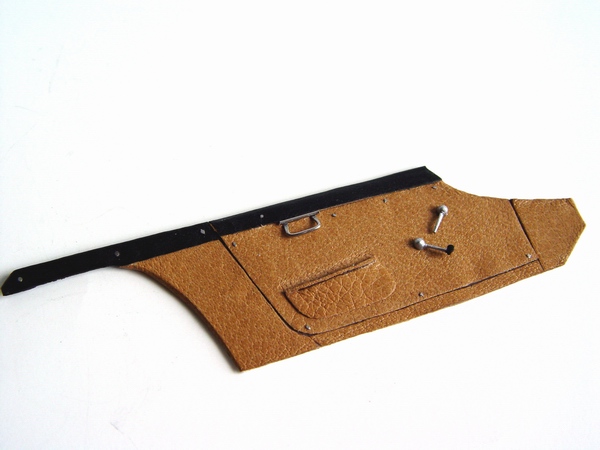
All the parts made above were glued to the door panels and I started adding several other small parts, such as rivets, foot well lights, door hinges, etc.
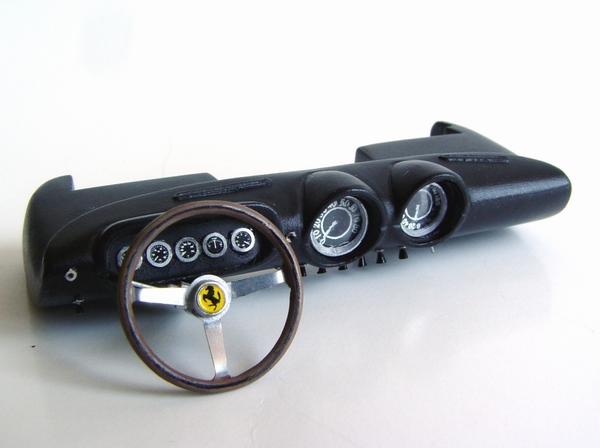
Finally I added few additional small knobs to the dash, steering wheel, and the dash was completed.
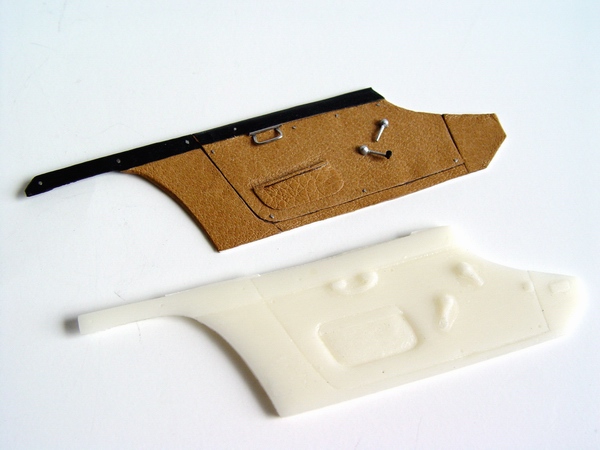
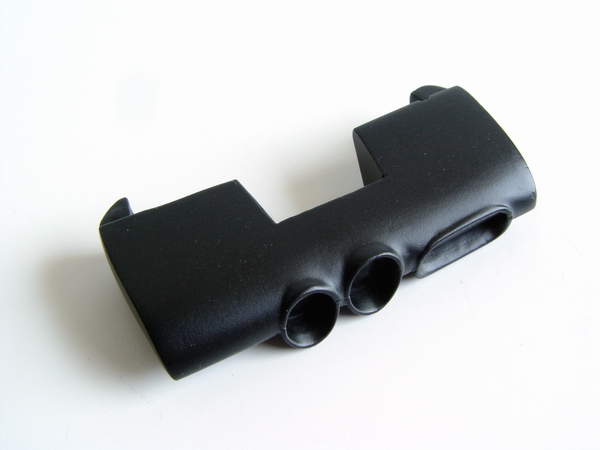
When you compare the original resin panels with the ones I've made, it is obvious that they look much better!
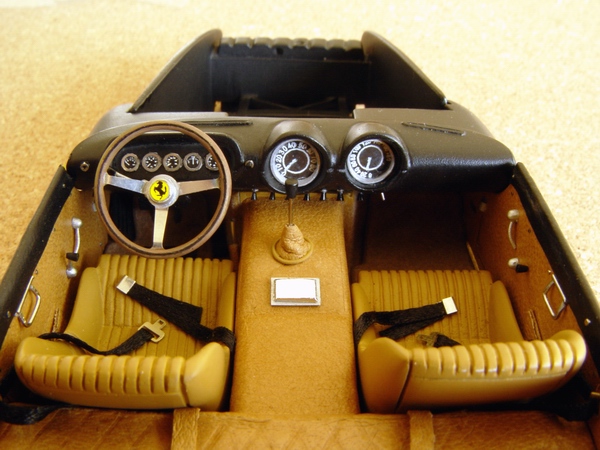
Completed dashboard was glued to the finished interior. I added few little details, such as hand brake, knobs, etc.