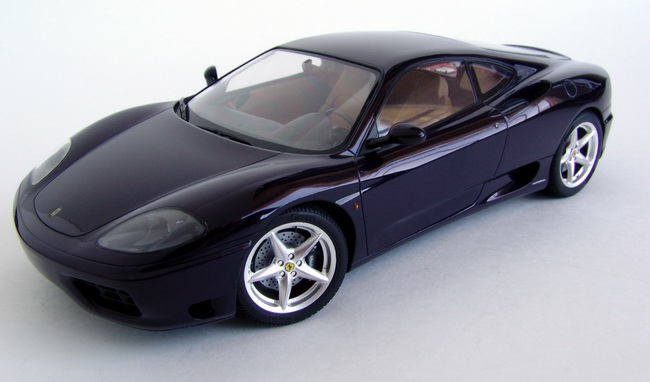
F e r r a r i 360 Modena
|
|
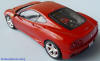
See Also: Tamiya 1/24 Ferrari 360 Modena in Rosso Corsa Click on the picture to enter full buildup and gallery. |
 |
 |
 |
Kit: 1/24 Tamiya 360 Modena kit # 24228
Pros: Full engine detail. Full suspension detail. Full details on everything, including interior, exterior, and brakes. This models is almost as detailed as famous Fujimi Enthusiast kits. Window masks, mesh, metal transfers, excellent rims and tires, full underbody details. No problems during assembly, everything fits very nicely.
Verdict: This kit is the one about which you can say "Its perfect in every way". Its pure pleasure to assemble this one, and it builds into a very true to the original, highly detailed model straight from the box, without any additional detailing. Tamiya beats its own quality standard with this one - IMO its one of the best Tamiya models on the market today. I would not recommend this model to beginners though, mainly because of the number of parts. Its a perfect model for seasoned modelers. |
 |
 |
 |
|
 |
 |
 |
Buildup
This buildup was also published in Tamiya Model Magazine International May 2007, Issue 139, Modena Romance
 |
Headlights and brake cooling ducts were glued to the body before painting. This way they will be painted together with the body. |
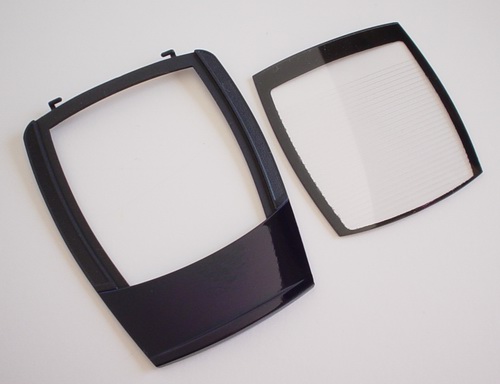 |
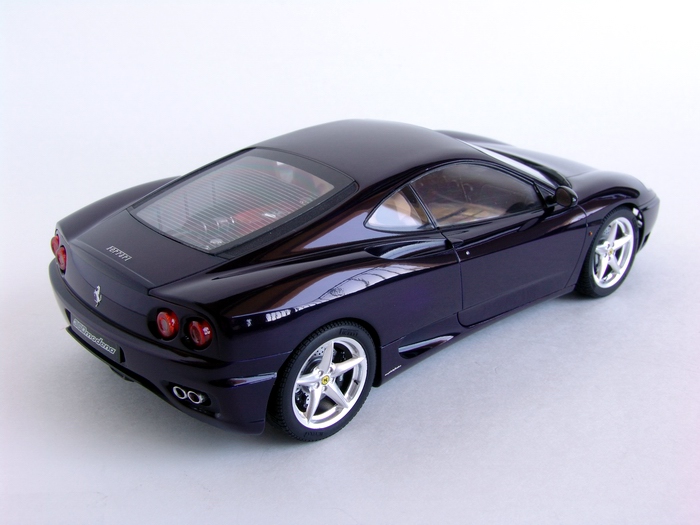
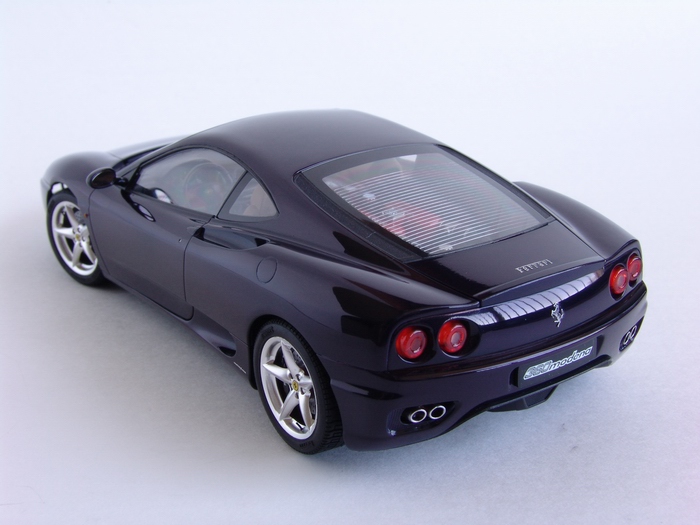
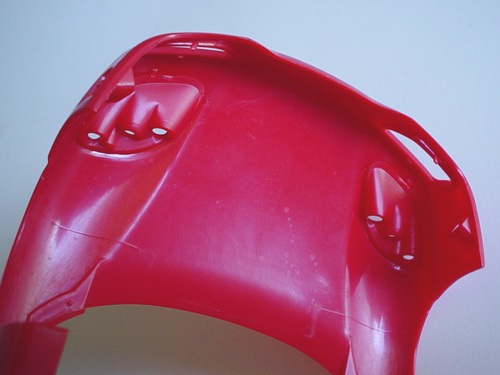
Rear hatch was also polished, waxed, then masked off and painted flat black from inside. Rear glass was polished, and attached to the hatch cover. |
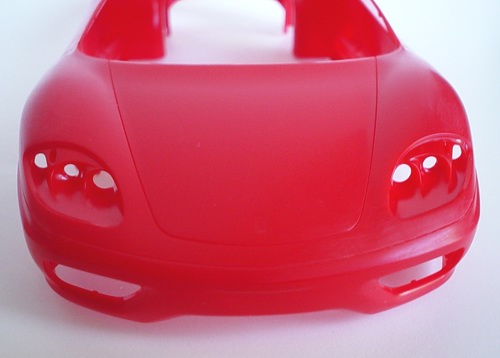 |
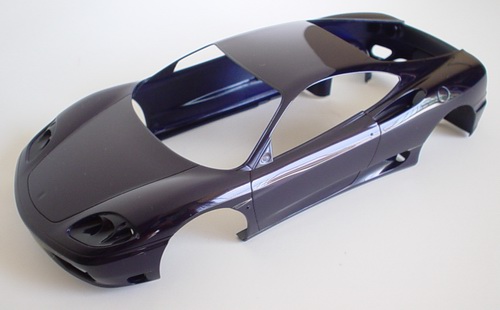
The rest of the body was cleaned, mold lines were removed, and whole body was lightly sanded with fine sandpaper. |
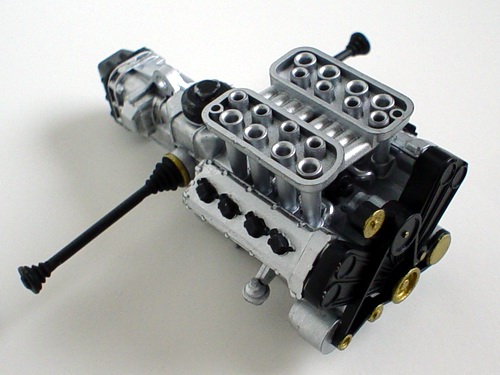 |
Engine was assembled according to the instructions, painted with Testors metalizers, and detailed with Tamiya acrylic paints and washes. |
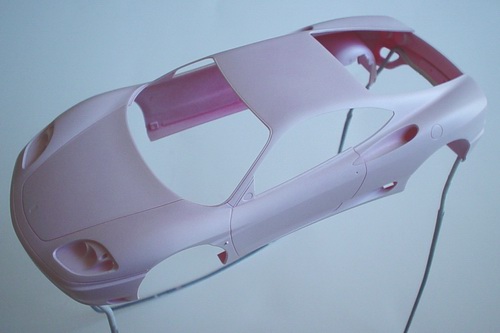 |
Then I mounted the body on a stand and sprayed several thin coats of Tamiya white sandable primer. Before spraying color coats, I lightly sanded primer. |
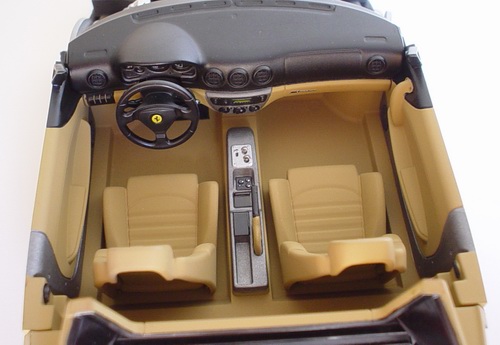 |
Interior was cleaned, primed, and painted with Tamiya acrylics. The interior is also built straight from the box and the buildup was very straightforward with excellent parts fit. |
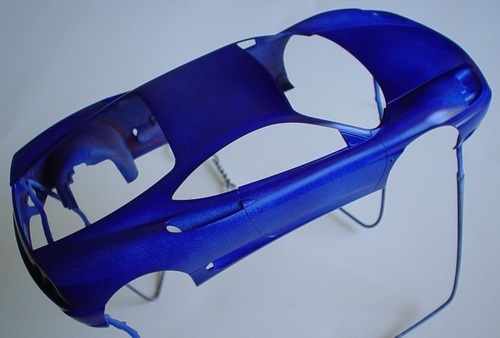 |
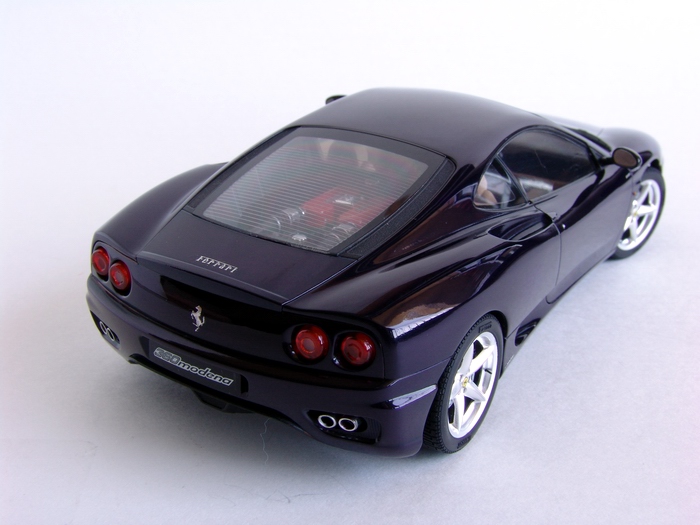
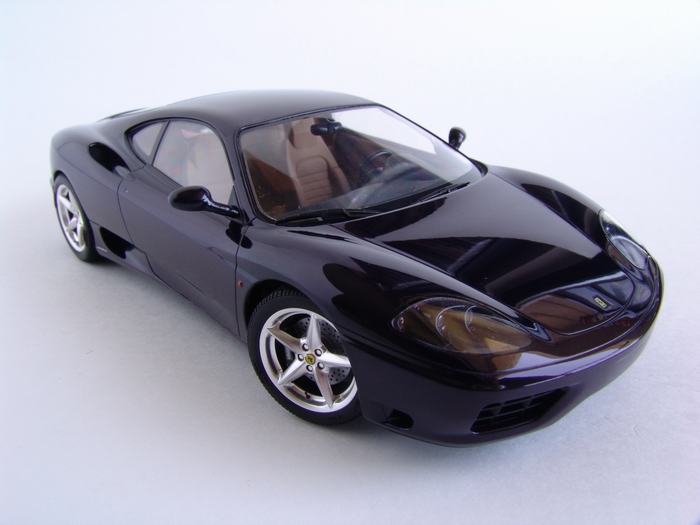
Body was painted with Tamiya TS-55 Dark Blue. This is the body after first mist coat. Here you can clearly see that the paint is blue. After first wet coat the paint looked almost black. |
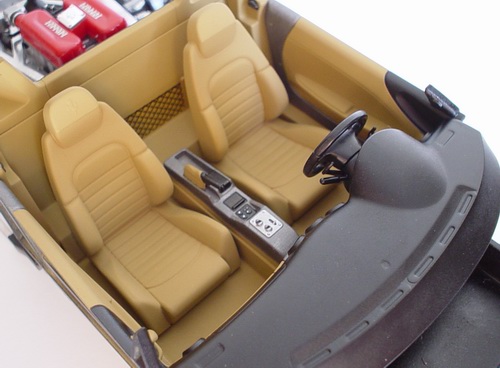 |
The interior was detailed with fine brush to bring out the details. Then I installed it on the chassis, and started adding small details. |
 |
Second mist coat. Now the primer is almost completely covered with paint. This will help final wet coats to adhere better and achieve even coverage. |
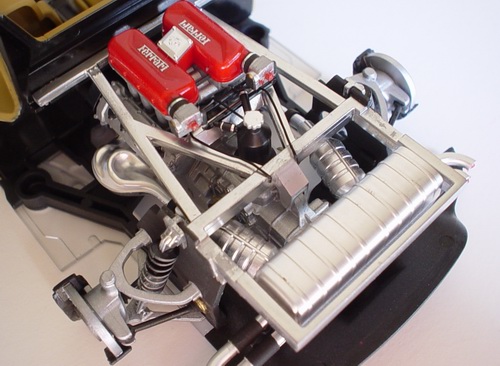 |
After installing engine frame, cam covers, exhausts, and rear suspension, I drilled several holes and run several fine hoses and wires. Engine was detailed with some black wash. |
 |
This picture was made after spraying second wet coat. The paint is even, deep, but slightly textured. After it dried completely, it become even more textured. |
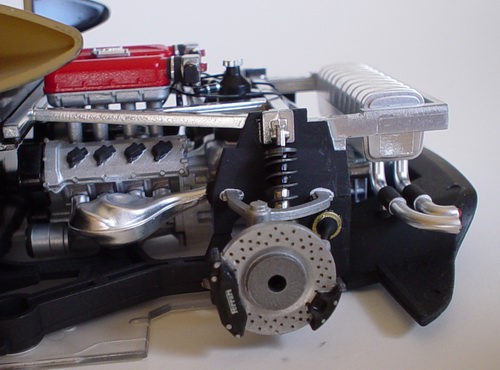 |
Brake rotors were painted with Testors steel metalizer, and then detailed with black paint to simulate drilled rotors. Note that I left underside plate clear to show off the engine. |
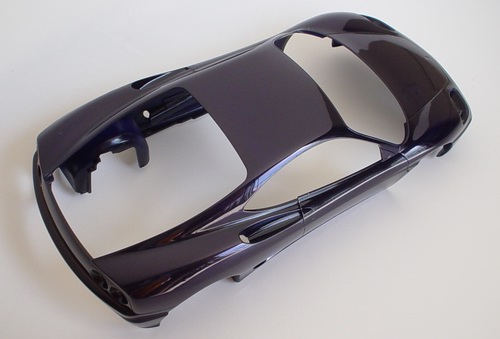 |
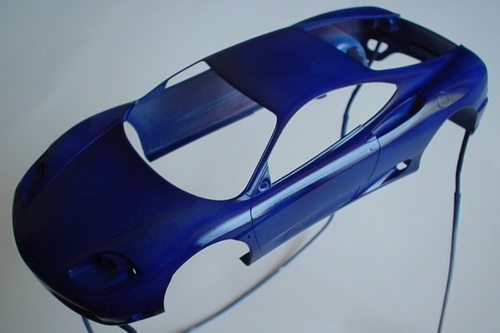
After lightly wet-sanding the paint with 6000 grit paper, I polished it with 3M polishing compound, then waxed it with The Treatment model wax. Panel lines were painted with fine black permanent marker. |
 |
Front suspension was assembled according to the instructions, then I added radiators, and some other little details. |
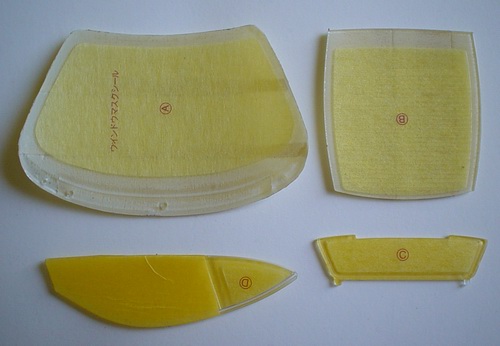 |
Window masks were applied to the windows, and I also masked outside to safely spray the trim. |
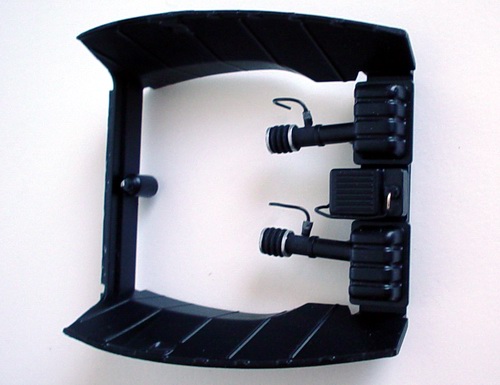 |
I glued the airboxes to the frame, and then wired air sensors. Water reservoir was also fitted with thin wire to simulate a hose. Frame was installed inside the body, together with windows, rearview mirrors, some mesh and other small parts. Then I glued body to chassis. |
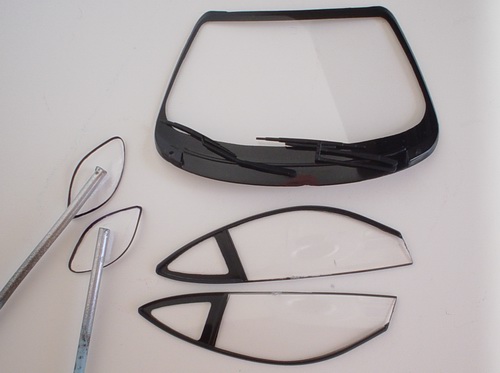 |
After paint dried, I removed the masks, slightly polished the glass, and glued wipers to the windshield. I also painted rubber gaskets on headlight covers with fine permanent marker. |
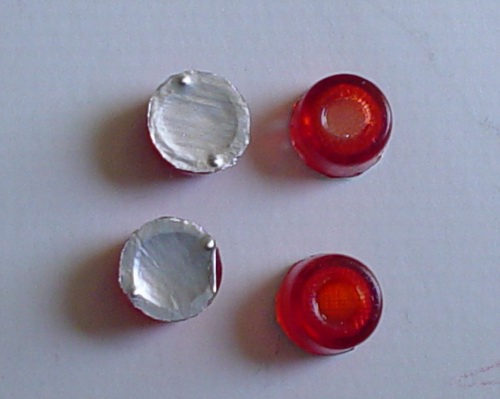 |
Finally all exterior details were added to the body - taillights were painted and backed with reflective foil. I also glued headlight covers, mirrors, metal transfers, decals, and lightly waxed the model to remove fingerprints. |
Copyright 2003, Updated 2006 Alex Kustov. No copying or reproduction in any shape or form without written permission of the author.