Volkswagen New Beetle
 |
 |
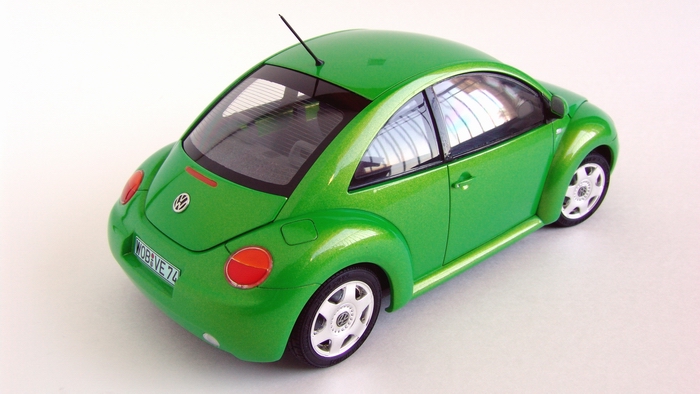
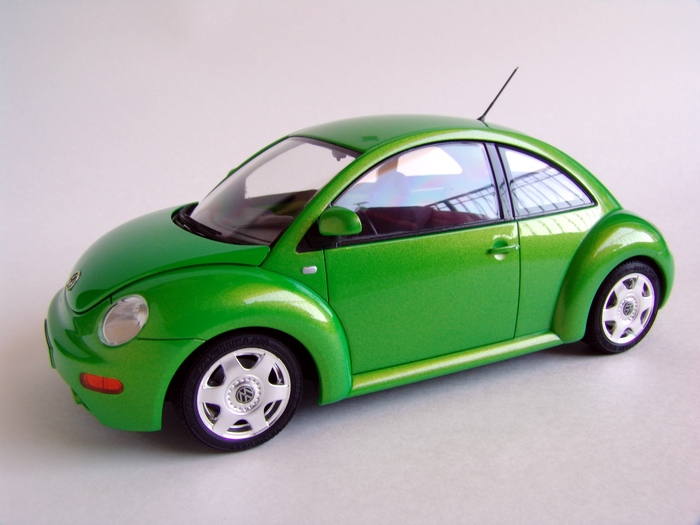
Kit: Tamiya 1/24 Volkswagen New Beetle, kit #24200 Pros: Traditional Tamiya quality, good moldings, almost invisible mold lines, no flash. Nicely molded and accurately proportioned body with separate hood and trunk lids, detailed chassis with separate front and rear suspension assemblies, steerable front wheels. Adhesive masks for windows, soft rubber tires with authentic thread pattern. Nicely detailed interior. Great fit of all parts, except side windows. Good and easy to follow instruction sheet with correct color guide. Cons: Curbside. Big gap (about 5mm from each side) between the chassis and the body when assembled. Terrible fit of side windows - requires a lot of test-fitting and some trimming to sit flush. Rims are nice, but too small in my opinion. Interior is a tub, and is very hard to paint, especially given the fact that it requires a very complicated masking. Very faint details on the door panels. Too much clear carrier film around decals (requires careful trimming for all small decals). Verdict: I started building this kit shortly after it came out, about 4 years ago or so, but after painting the body, I was really disappointed with the color ( I used Testors enamel lime-green) and put it back in the box. Recently, when I was building a Kawasaki Ninja ZX-12R bike, I bought some Tamiya TS-52 Candy Lime green and was amazed by the quality and depth of this paint. I took Beetle body out of the box, stripped the paint, painted it with Tamiya, and was hooked! I finished the kit straight from the box, with flocking being only aftermarket addition. It is a great kit that looks very true to the original, although it seems a bit bigger than 1/24 scale to me. Easy build for a beginner. |
 |
 |
|
 |
 |
Buildup
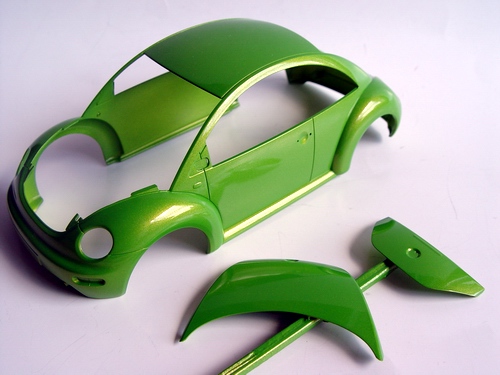 |
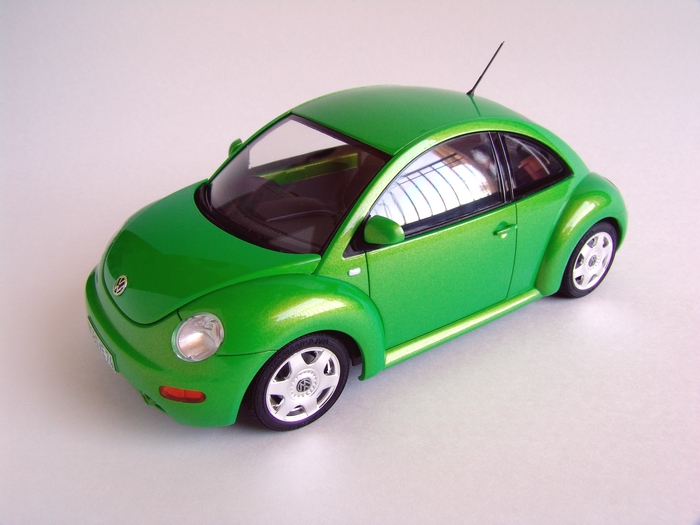
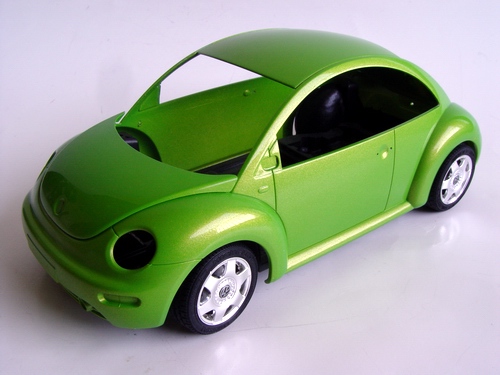
I have always wanted to build a bright lime-green Bug. So, body, hood and trunk were cleaned, primed with Tamiya white primer, and painted with 3 coats of Tamiya TS-52 Candy Lime Green straight from the can. I later applied 2 coats of automotive clear and polished the body with 3M compound. |
 |
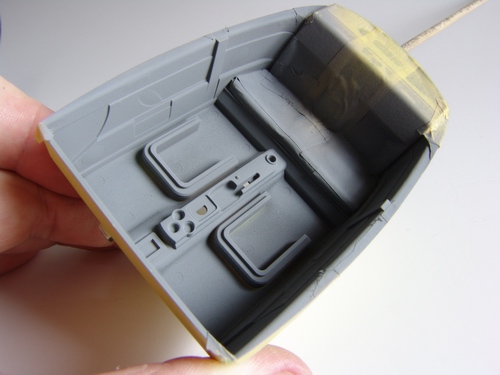
When paint cured, necessary areas were masked with Tamiya masking tape, and rear seat was painted with XF-63 German Gray. |
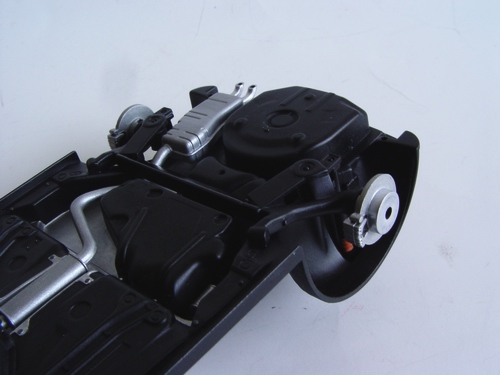 |
Chassis plate was painted with semi-gloss black, and front and rear suspension pieces painted in different shades of black. I also prepared and painted shocks, brakes, and exhaust. Rear suspension was assembled and installed on the chassis. |
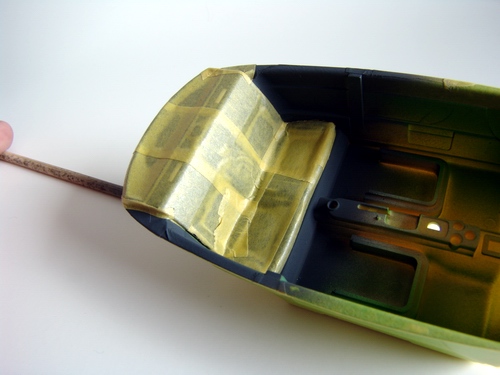 |
When paint was completely dry, I masked the rear seat with Tamiya masking tape and burnished all the edges really good. |
 |
Same was done with the front suspension. Boots on the steering rack were painted flat black, and the rack itself connected to the front hubs. All small nuts, bolts and rivets were picked out with different metalizer paints. |
 |
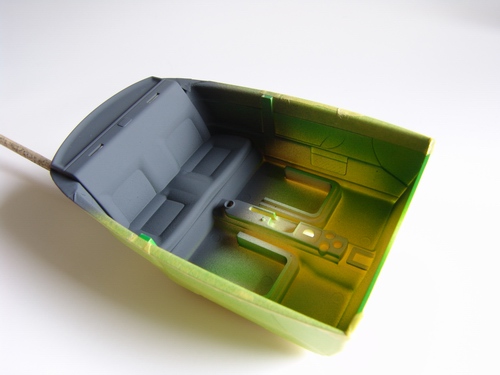
The entire interior tub was then airbrushed with Tamiya XF-54 Dark Sea Gray. |
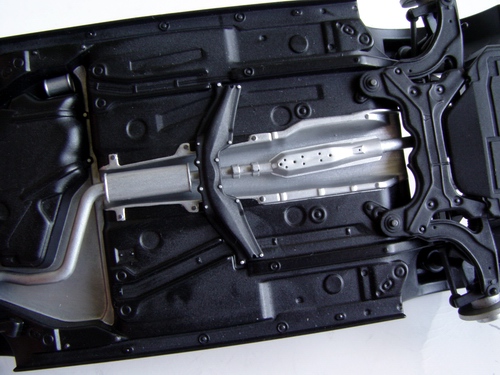 |
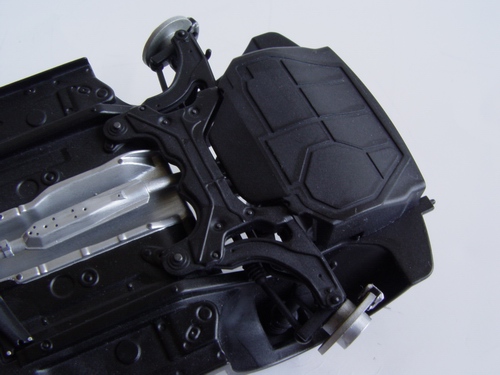
Before installation of exhaust and suspension parts, chassis was masked and sprayed silver to simulate heat shielding. |
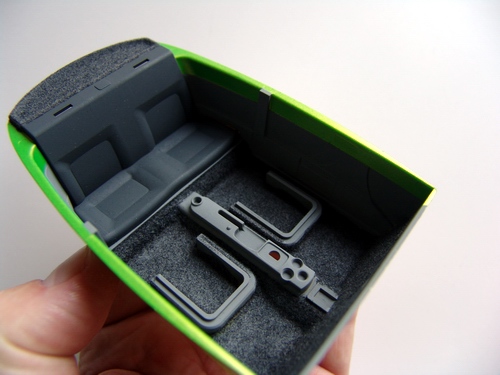 |
Finally all masks were removed, and when the paint fully dried, I used Detail Master gray flocking to flock the package shelf behind the rear seat and make the carpet. |
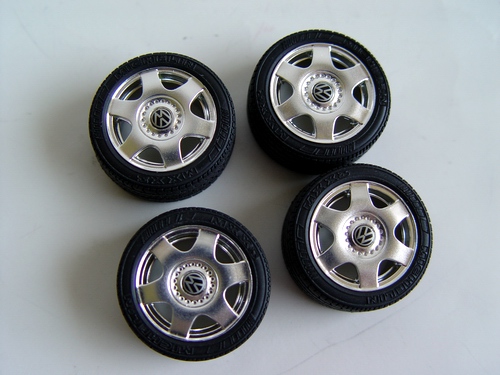 |
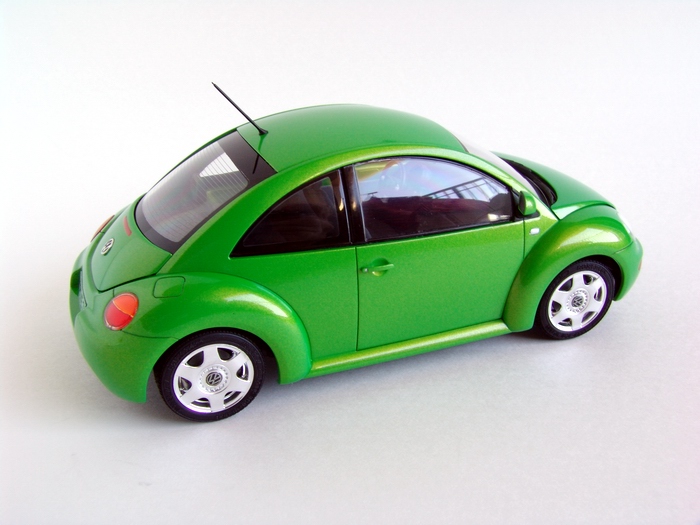
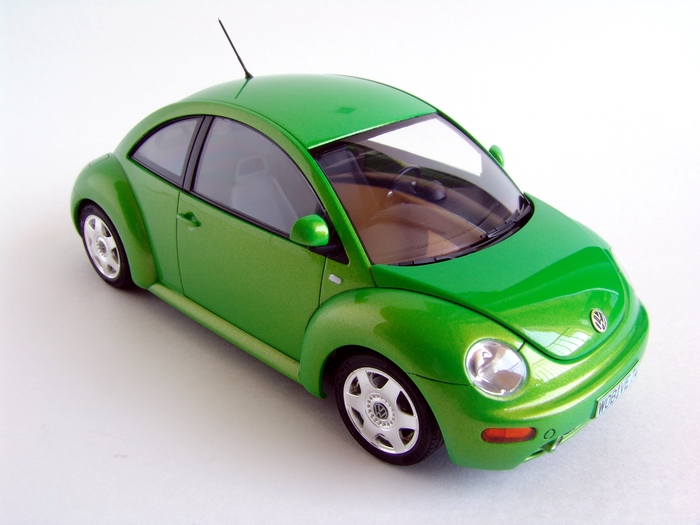
Beautifully satin-plated wheels were wrapped in very nice rubber-like tires and topped with VW emblem decals. I considered few other wheel sets, but decided in favor of original "bug" rims, even though they look a bit small to me. |
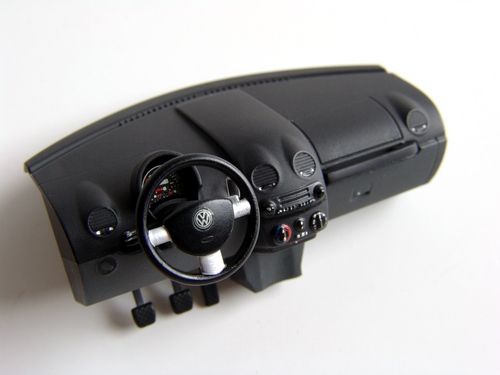 |
Dashboard was detail-painted, and fitted with instrument cluster, steering column and steering wheel, topped off with VW emblem decal. |
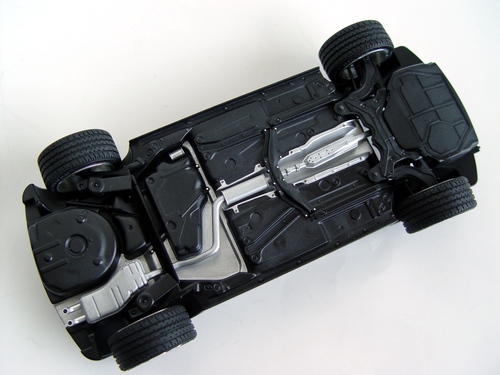 |
After addition of the wheels, I lightly black-washed exhaust and suspension pieces, painted insides of exhaust tips flat black. Chassis is now completed. |
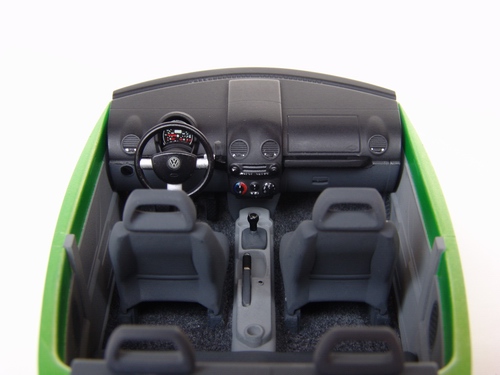 |
I then installed the dashboard into the interior tub, and fitted central tunnel with the shifter and hand brake. Finally, I installed the front seats and rear headrests. |
 |
Before we continue with the build, it is crucial to check the ride height. The stance was almost perfect, so I glued on hood and trunk lids and moved on to the interior assembly. |
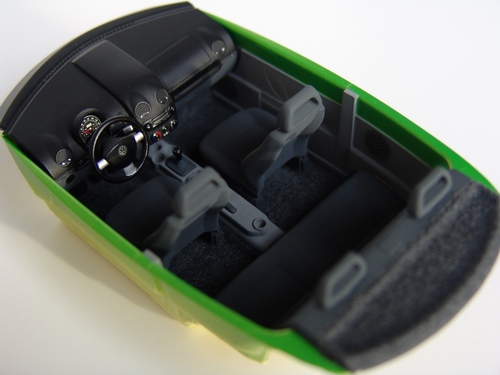 |
Completed interior looks quite convincing. Complicated masking and flocked package shelf and floors really add to the realism of the piece. |
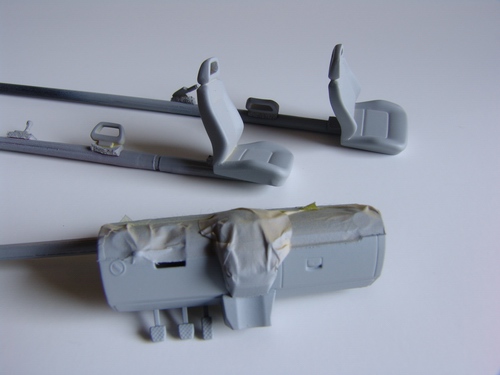 |
Dashboard and seats were cleaned and primed with gray primer. I then painted the dashboard with semi-gloss black, masked the top part, and sprayed both dash and seats with XF-63 German Gray. |
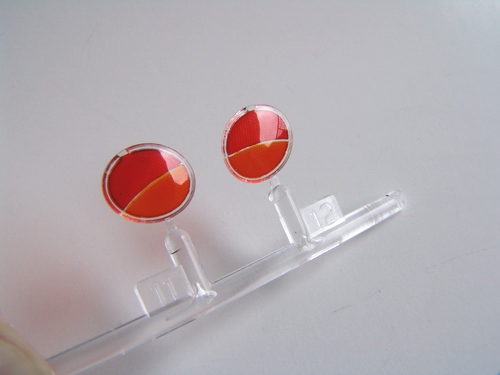 |
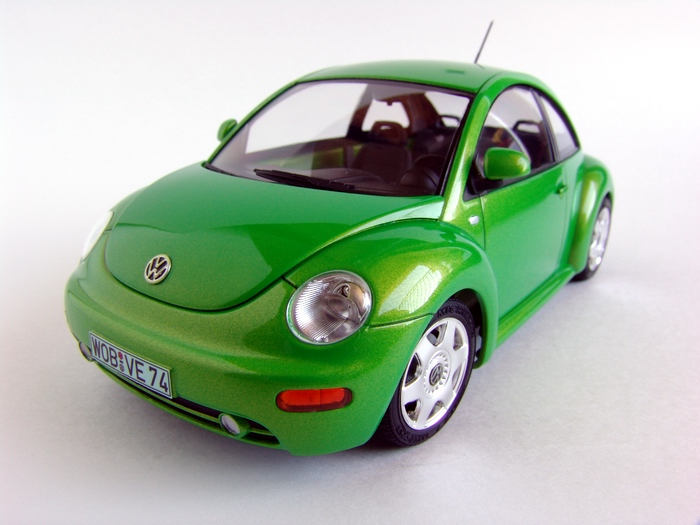
With the completion of the interior, I moved to the body. All windows were painted and installed, and small glass pieces, such as taillights, fog lights and blinkers were painted in their appropriate colors. |
 |
Interior design is simplified, and calls for some clever masking to make it look good. I sprayed a little of the TS-52 paint into the airbrush bottle, and painted the sides of the interior with the airbrush to minimize overspray and thickness of the paint layer. |
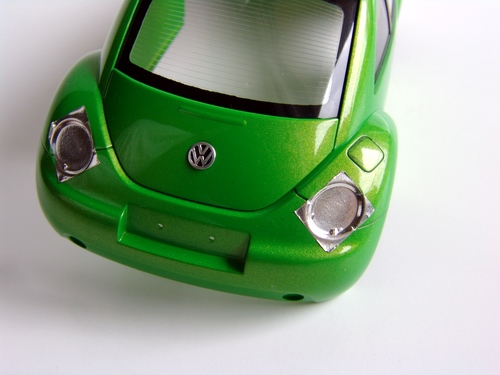 |
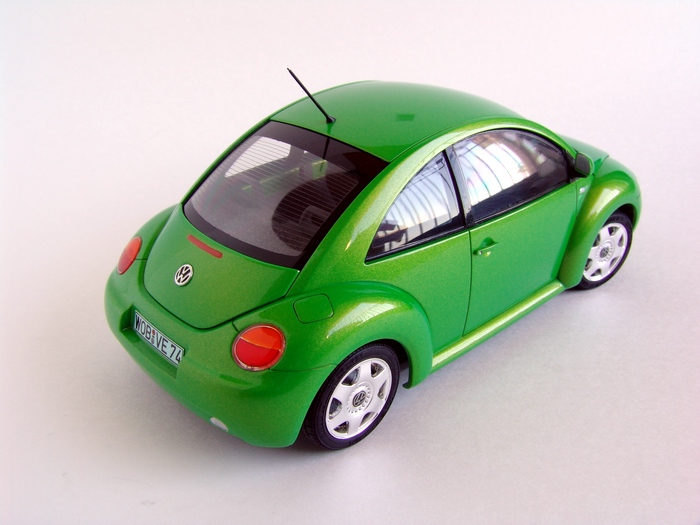
Taillights and fog lights were foiled with BMF to increase their reflective power. Finally I applied some dark gray wash to the panel lines, glued the emblems and small details like door handles and mirrors, and attached the body to the chassis. |
Copyright 2005 Alex Kustov. No copying or reproduction in any shape or form without written permission of the author.