Great Display Case for Under $15
Materials and Tools Needed
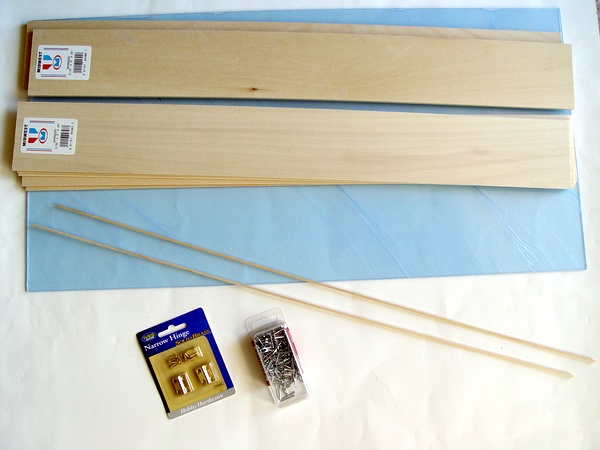
Who said you can't build a great looking display case that will hold 12-15 1/24 scale models for less than $15? You sure can! Before we get started, you will need to buy few supplies: sheet of poster paper (white) - $0.50, Narrow Hinge set - $1.29, box of #18 x 5/8 Wire Brads - $0.86 and 24x12 sheet of clear Plexiglas - $3.25 (hardware store), 3 x 3/16" x 3" x 24" and 3-4 x 3/32" x 3" x 24" basswood planks (about $1.20 each), and finally couple of 24" long, thin, square wooden sticks - $.50 each. Get some fine (400-800 grit) sandpaper and wood stain (if you prefer the case to be stained) while you at the hardware store.
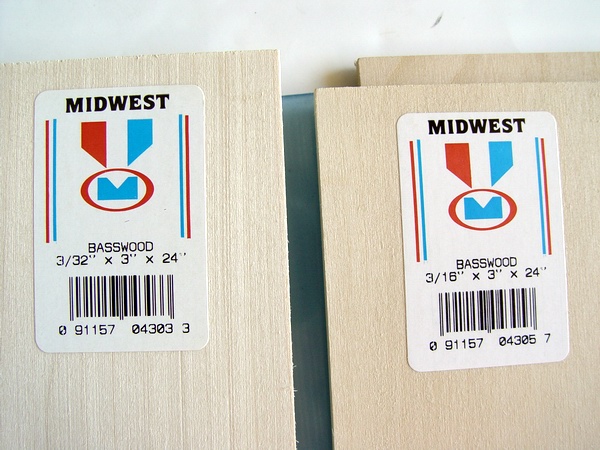
Make sure you get basswood, not balsa of something else. Basswood is strong enough, but light at the same time. Check the wood thoroughly, make sure its not warped, all cuts are clean, and surface is smooth and good looking.
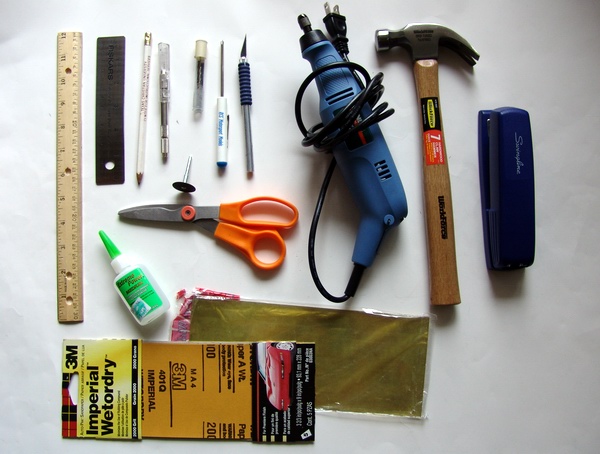
You will also need the following tools to complete the job: at least 12" long ruler, a pencil, pin vise or drill with set of small drill bits, Philips screwdriver, a knife, scissors, motor tool with metal cutting disks, a hammer, stapler with staples, some CA glue (or good wood glue), some sandpaper and a sheet of thin brass (optional).
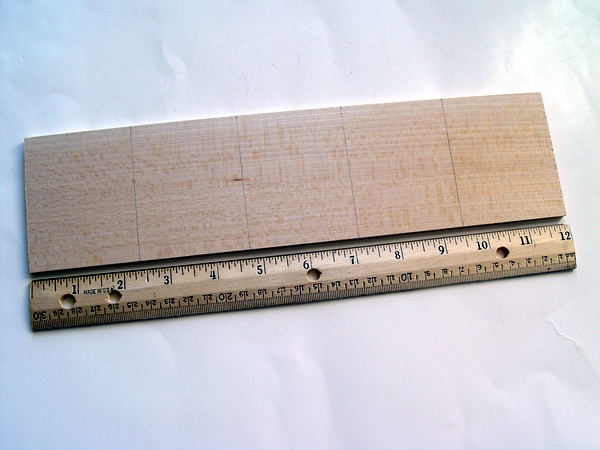
Now let's get to work! Before doing anything to the wood, I recommend sanding it very thoroughly with 400-800 grit sandpaper to smooth the surface and edges, and make it look nice and pleasant to the touch. After all the sanding is done, cut one of the 3/16" x 3" x 24" planks in half (12"), make sure both planks are absolutely the same size.
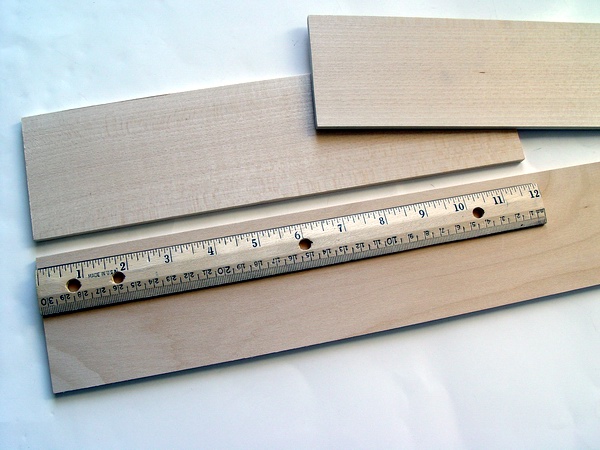
Decide on the number of shelves you want in your display case and divide the plank accordingly. I wanted 4 shelves in my case. Measure the plank from both sides and only then draw the markings.
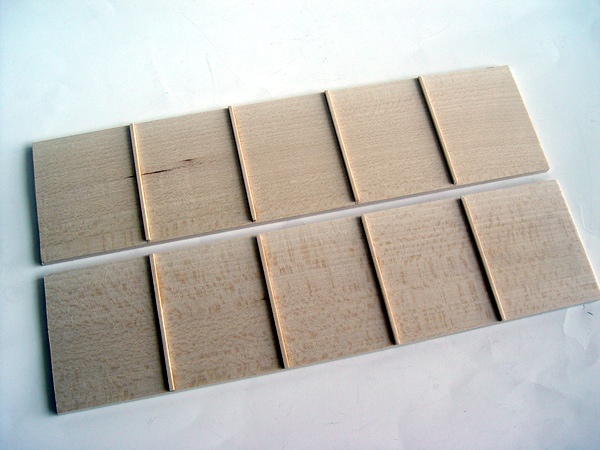
Then cut the wooden sticks in 3" long pieces and sand them lightly with sand paper. You can do it before cutting or after - your choice. Make sure all pieces are of exact same length.
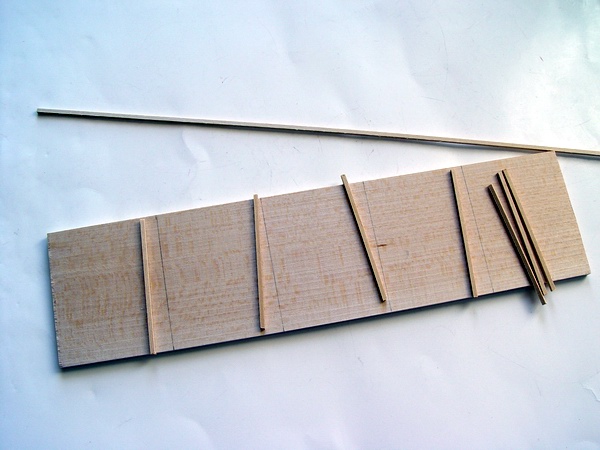
Now, using your markings as a guide, glue the pieces to the planks with CA glue. Be careful not to put the glue in places where it will be visible - this will ruin the appearance of your display case. Wood is a porous material, so you might consider using a wood glue, but CA should be fine. Check to make sure the distance between pieces on both planks is the same.
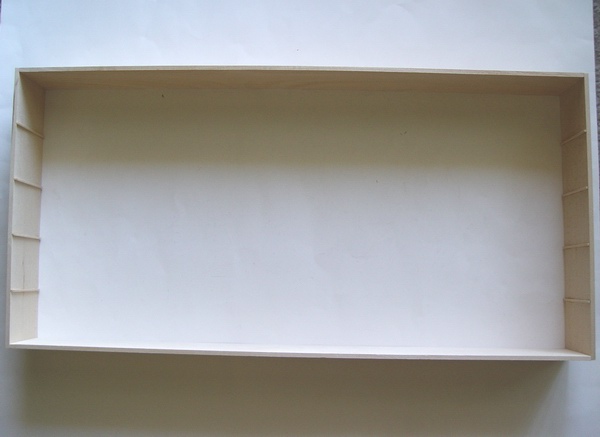
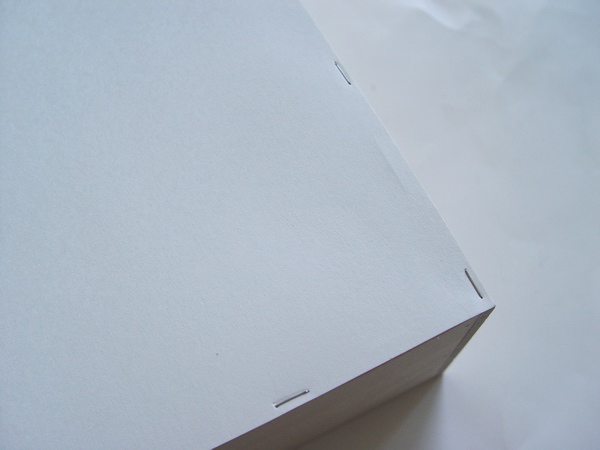
Take the planks, turn them on the other side and put 2-3 nails in it. Do it for all sides, and then carefully assemble the sides with other two 3/16" x 3" x 24" planks. Make sure the assembly is straight, check your work often as you progress.

After you finished you should have something similar to the picture below. If you want to stain your case - you should do it now. Follow the instructions on the can of stain, and wait till it is completely dry before continuing the work. Don't forget to stain the shelves too. I decided I like the natural wooden look better, so I just sealed the wood with few coats of sealer.
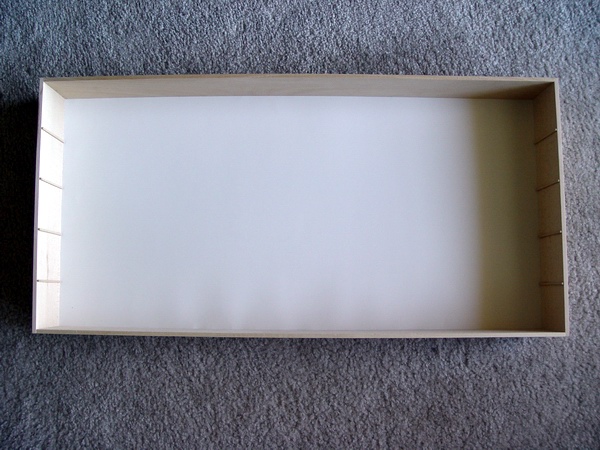
Cut the poster board to size (24" x 12") and carefully staple it to the back side of your case. Make sure that the case is straight while you stapling the back. You may use something different as a background for your case - a picture, a wooded board, or textured paper - its really up to you.
I prefer simple white background, so I used white poster paper. After the background has been attached you should have something similar to this:
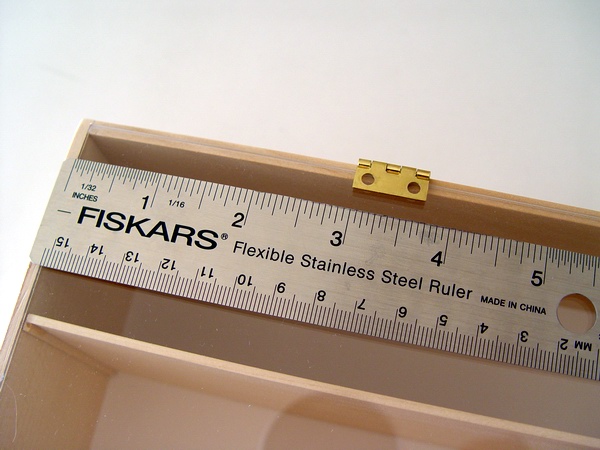
Now lets attach the clear cover. We want the cover to be removable, so we could take the models out or add more models while the case is on the wall. So we going to hinge the clear cover. Measure about 3" from each side and mark the location of the hinge with the pencil on both wood and Plexiglas.
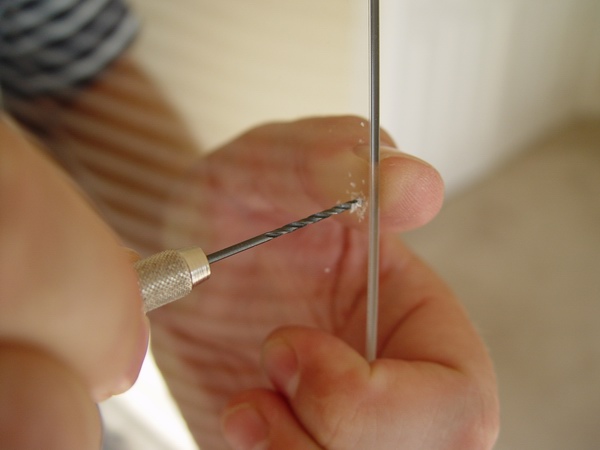
Using your pin vise or hand drill (at a very slow speed) drill the holes in the Plexiglas at both sides. Be very careful not to crack the glass.
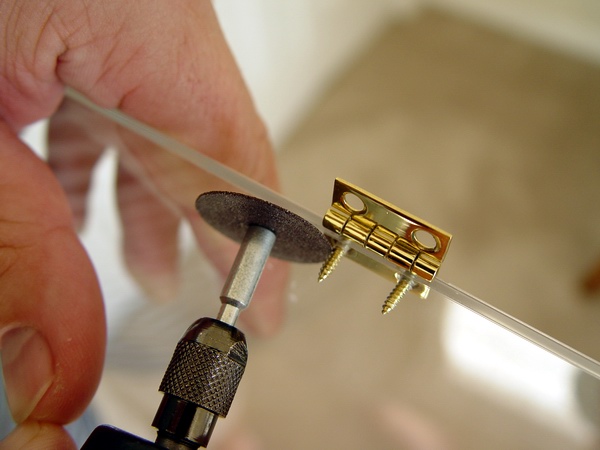
Carefully screw the hinge to the glass. You may want to add a tiny drop of CA glue to each screw just to make sure it is securely attached to the glass and hinge. Then cut off the screws with your motor tool and cutting disk. Be careful not to leave marks on the glass. It is really easier than it sounds, believe me.
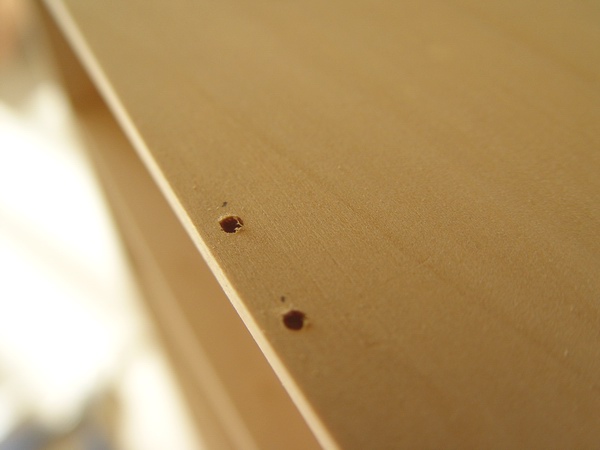
Check the location of the hinges against the wood, and drill two holes for each hinge. Check again before drilling the holes for the second hinge to see how they align.
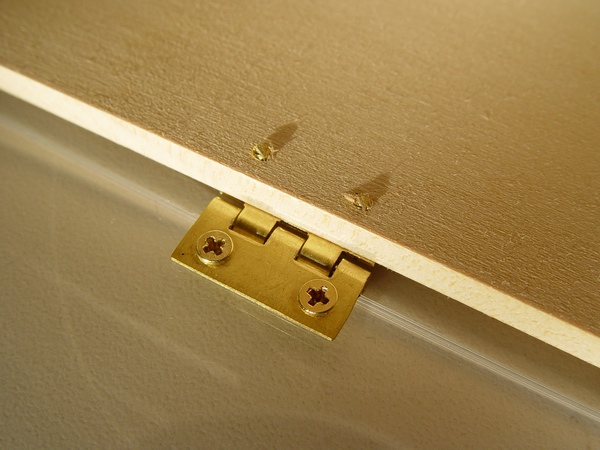
Attach the glass to the case with the screws (again, you may want to reinforce the joints with some CA glue), and cut off the screws with your motor tool just like before. You should have a clean and nicely looking hinge similar to the picture below:
Now that we have a case with hinged glass cover, we need to make couple of fasteners that will keep the cover tightly attached to the case and keep the dust out of the models. Cut two strips of brass and 1/4" wide and 3/4" long.
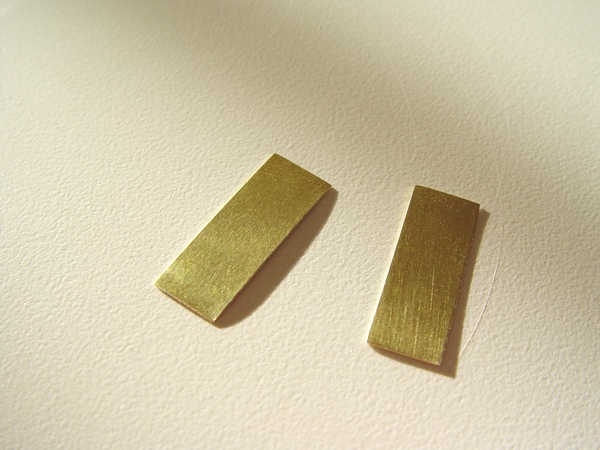
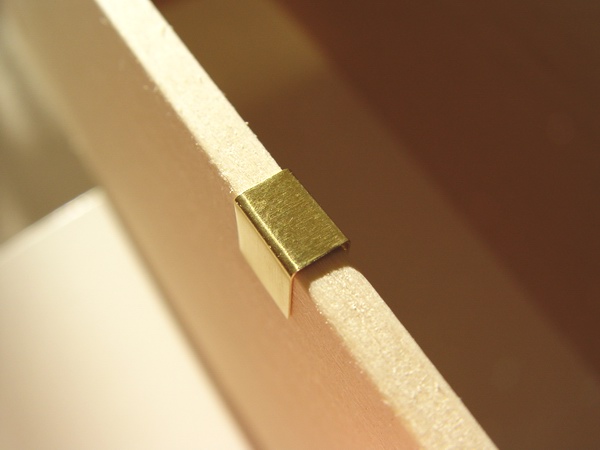
Then bend the pieces as shown on the picture and glue them with the CA glue opposite to the hinges on the other side of the cover:
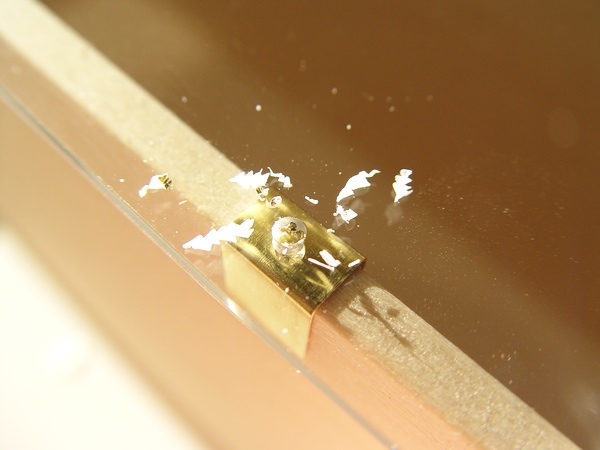
Then using your pin vise, drill a hole thought the glass and brass into the wood.
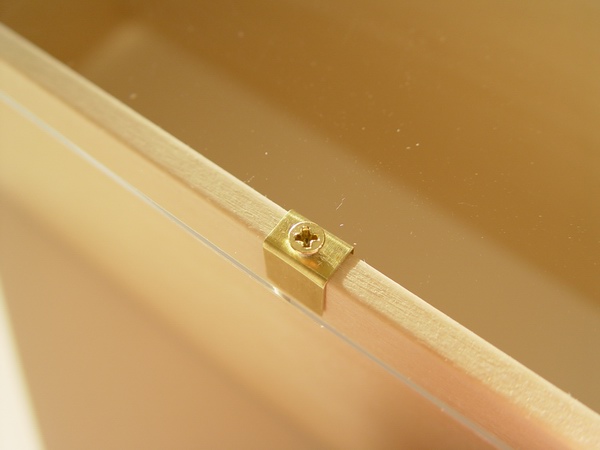
Now you can secure the cover with the screws. This will keep the dust, pets, and curious others off your models. Completed case shown below:
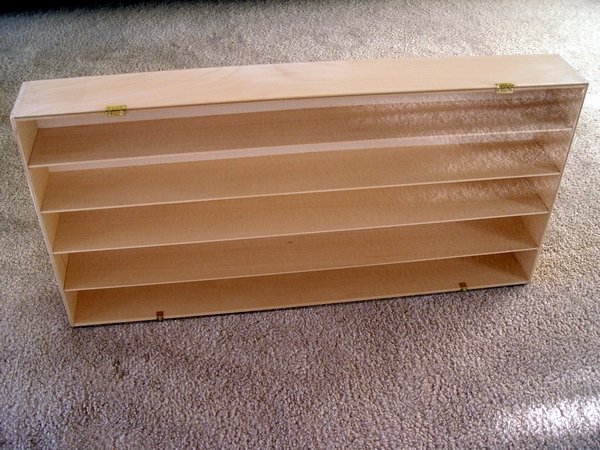
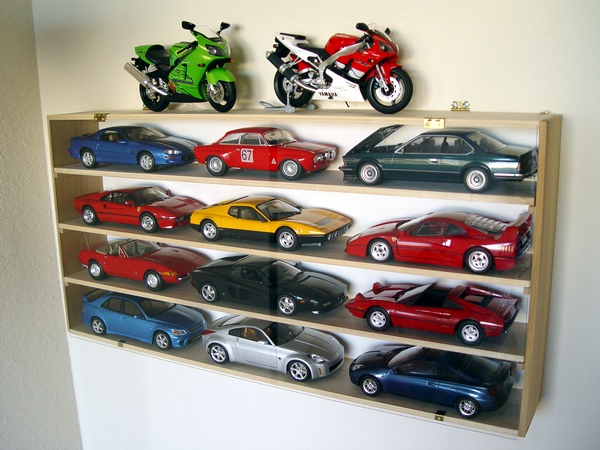
After completion, you should have a nice display case that will hold from 12 to 15 1/24 model cars, and even more smaller scale models, and it only cost you about $15 and an hour of your time. Below is one of such display cases I use for my models:
Copyright 2004 Alex Kustov. No copying or reproduction in any shape or form without written permission of the author.