How to Make Realistic Engine/Fan Belts
Materials and Tools Needed:
You will need your hobby knife, files/sanding sticks, masking tape, ruler, CA glue, and flat black paint for this little upgrade. Depending on the materials and belt setup, you might need some wire/metal rod, and maybe aluminum tubing to make new shafts for the pulleys.
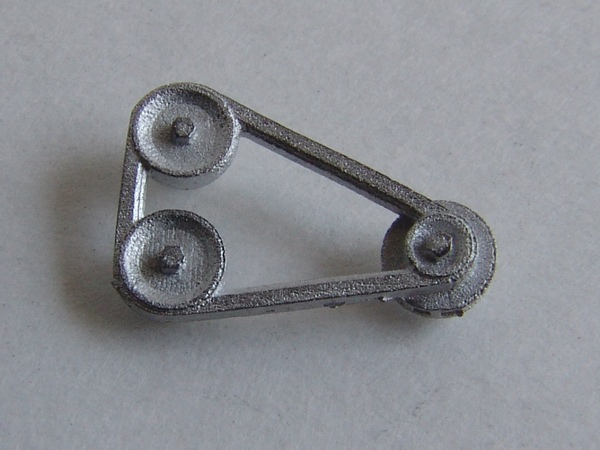
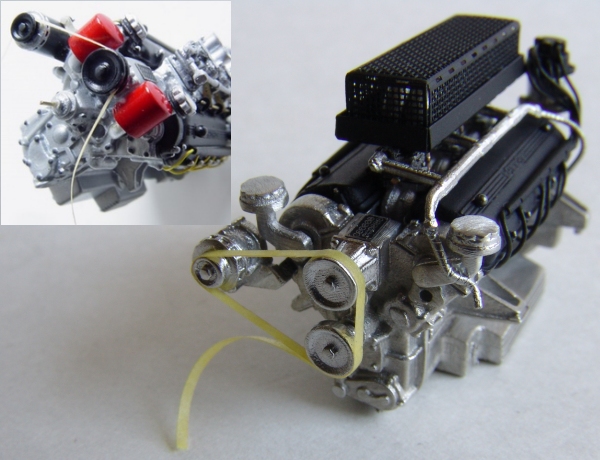
Most kits come with belts molded to the pulleys, or better yet, to the front cover of the engine. If they are clearly visible when the engine is installed, there is a very simple technique you can use to enhance your engines and make belts look like a real thing. Below is a picture of a typical belt/pulley part. The belt look thick, too wide, and kind of "square". Even when thinned down and carefully painted flat black, it still going to look fake.
In order to fix this, lets cut molded belt completely off, and carefully remove its remains from the pulleys. Then sand the pulleys smooth with sanding sticks/files. If you want, you can make a grove in each pulley using needle file for more realism.
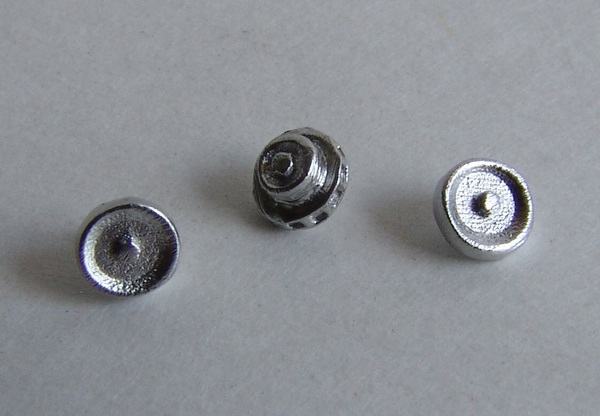
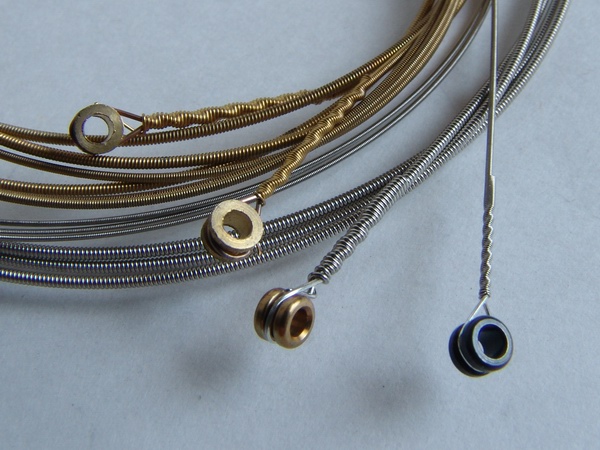
You can also skip the above steps and use some aftermarket pulleys, they are available from several manufacturers in different sizes/styles. If you play guitar, you probably have some old guitar strings around, and their heads can also be used as pulleys (they even have the grove for the belt in the middle!) With some thinning down and simple modifications they make excellent-looking pulleys. And the strings can be used as fuel lines too!
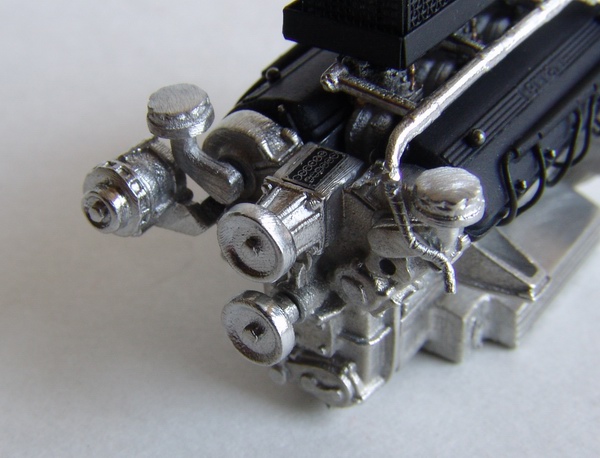
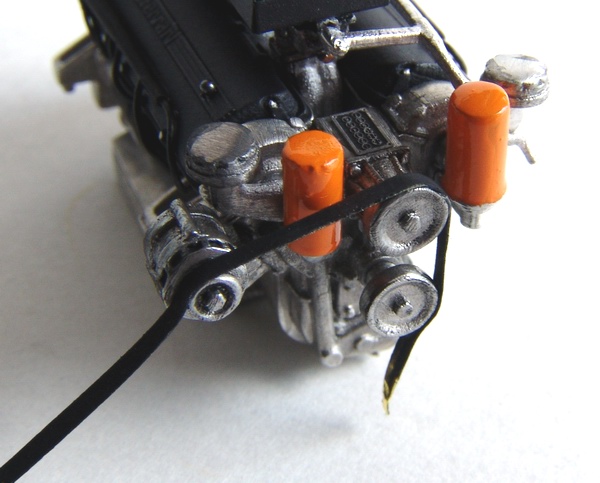
After you clean up the pulleys, everything should be ready to mount them on the engine. If you used aftermarket pulleys, or, some of the pulleys have no shafts to attach them to the engine, you can make your own shafts from small diameter tubing/wire. Look at the reference pictures of the real engine to determine where all the pulleys go. Usually, the belts turn water pump, generator, and a fan. Make sure you pulleys are all mounted at the same level, and sit perpendicular to the engine cover.
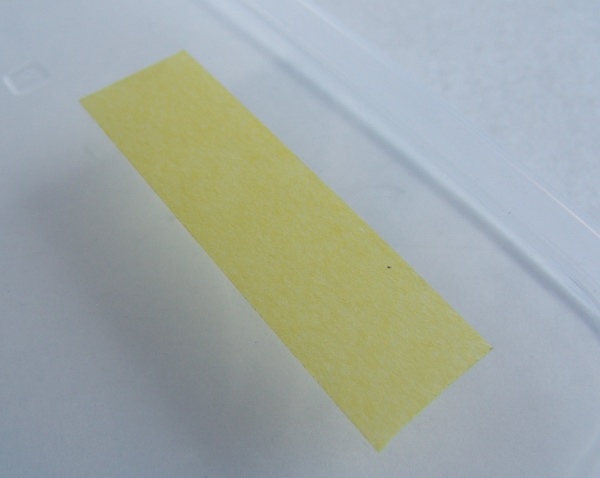
Now, lets make the belt. You can use simple masking tape for the belt, or black electrical tape. Masking tape looks more like a belt material, but you don't have to paint the electrical tape. Both have advantages and disadvantages, but every modeler should have a piece of masking tape handy, so this is what I will use in this tutorial. Stick a 2-3 inch-long piece of masking tape to the clear plastic board or a piece of glass (easier to remove the tape).
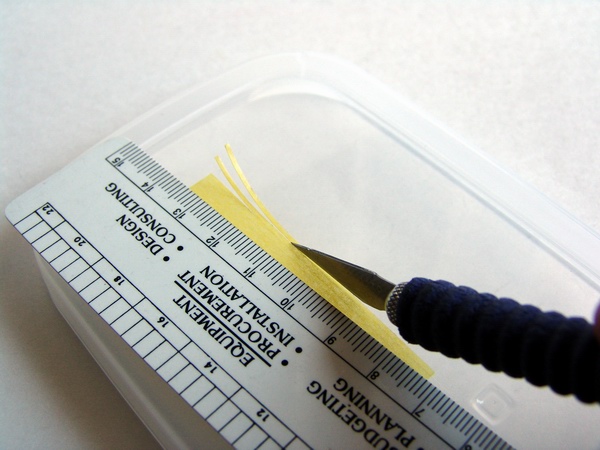
Then using your ruler as a guide, cut several thin strips of masking tape. Try to make them all the same thickness.
Peel off one strip of masking tape, and stick it to the pulleys to check the length and alignment.
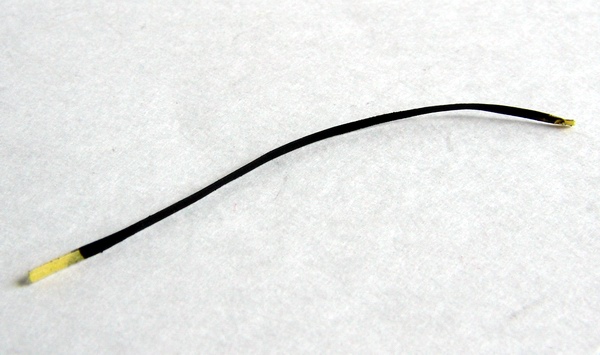
Then, join two pieces of masking tape (just put the sticky sides together) and paint flat black. This will give the belt correct thickness and would allow to easily paint it in black (paint doesn't stick well to adhesive side of the masking tape).
Then, using CA glue, carefully glue the belt to the pulleys, making sure the joint will be in inconspicuous place, like on the bottom of the lowest pulley.
Then touch up the belt, and rub your fingers over it, to make it look a bit worn. You can also apply decals to imitate numbers/letters on the belt, and weather the belt and pulleys with washes. Now your engine has a realistic looking fan belt with very little effort and few minutes of your time.

Copyright 2005 Alex Kustov. No copying or reproduction in any shape or form without written permission of the author.