How to Use Flocking to Simulate Interior Carpeting
Materials and Tools Needed
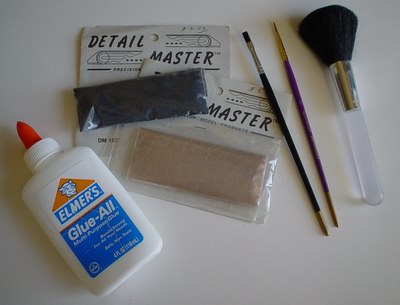
To successfully flock model interior you will require few things: some suitable color flocking (I prefer Detail Master brand), Elmer's white glue, and three brushes - wide brush, pointed brush, and one big duster.
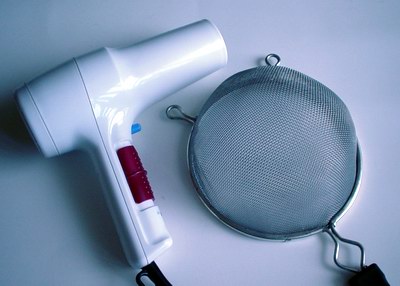
You will also require a food strainer, and a hairdryer.
Before we start applying flocking to the interior, I want to mention that there are two methods of applying flocking - white glue method, and paint method. In the first, white glue used as an adhesive, in second - paint. I prefer white glue method, because white glue is water based, and it is easier to remove flocking if something has gone wrong. It doesn't harm paint, and you can basically remove flocking under warm running water. Paint is as good as white glue as an adhesive, but if you messed up - it is much harder to remove flocking, and usually require complete paint stripping from the part you were working on. This is not a desired thing if your interior was painted using complicated masking scheme...
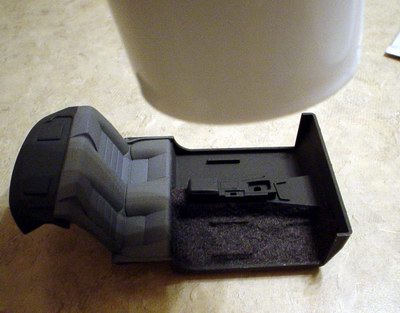
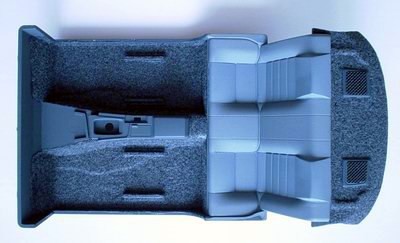
Before you start the process, make sure interior completely painted and dry. We will use Tamiya Nissan Skyline GT-R R34 interior as our example (kit 24210).
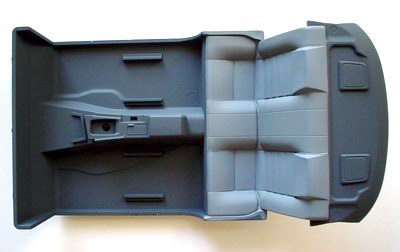
Note that interior was completely painted and dried before flocking application. This is especially crucial if you use acrylic paints, cause they are water based, just like white glue.
Before application, flocking needs to be mixed and uniform. That is especially important for the colors that you mix from two different flockings. Take your food strainer and put some flocking into it...
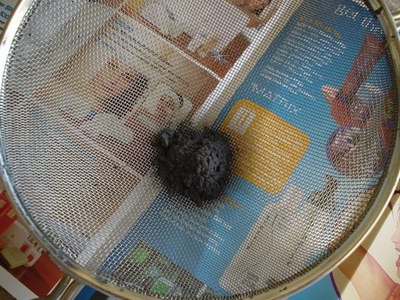
...and sift it through the strainer to remove all hard formations...
...this is how the flocking ready for application should look like (above)...
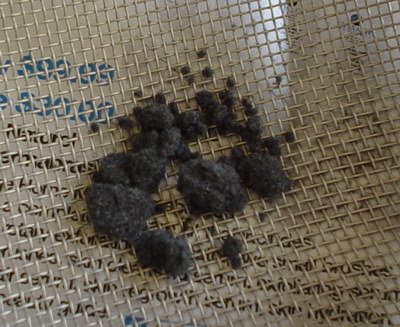
...and this is how those hard formations that left in the strainer look like….discard those, or try to break them up and use next time you will apply flocking.
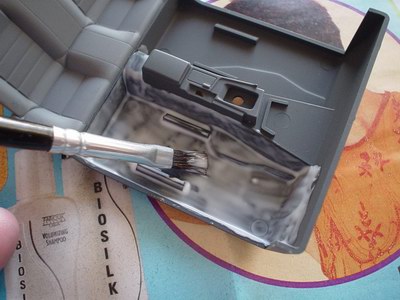
Now its time to put some glue on your interior. Take a wide brush and apply glue everywhere you want your flocking to be. Use wide brush for flat areas, and pointed brush for hard-to-reach areas. Apply enough white glue to cover entire area so you almost can't see the paint underneath. I also suggest covering interior floor in two takes, since white glue dries really quickly, and the first half will dry before you put glue on second one. Work slowly and be patient.
Now load your strainer with flocking and sift it on the glue-covered area to cover it completely. Make sure you have enough flocking in your strainer.
Just after you applied the flocking, press it into the glue with your finger...
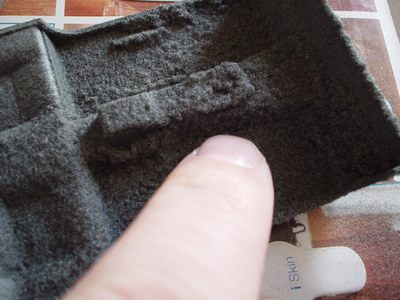
...and with small pointed brush in the place where you can't reach with the finger.
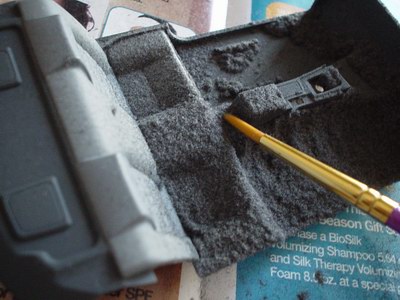
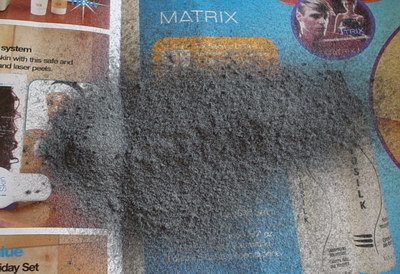
After about 5 minutes, remove all excess flocking on a piece of paper, and slightly tap on top of the interior tub for all loose flocking to be removed.
After this operation you will have something that looks like this:
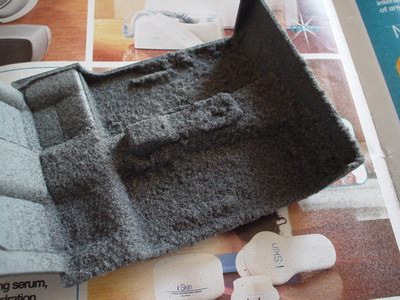
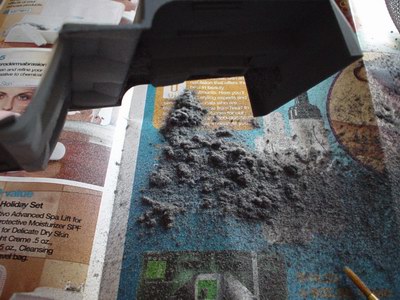
Now take hairdryer and blow some hot air on the flocking. This will dry white glue very quickly, and remove all unwanted flocking particles as well.
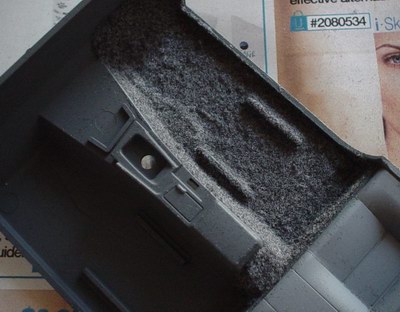
Clean the interior with the duster. After this step, you should have something looking like this:
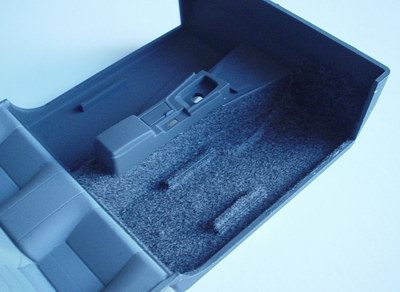
...very nice looking carpeting, that is as close to the real thing as it could be on a scale model.

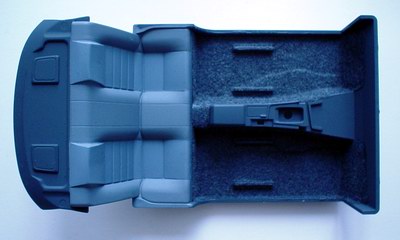
Now repeat all the steps described above for the second half of the interior. When you done, the completed interior will look similar to the picture below. You can also make touch-ups in places where there is not enough flocking. Use water-diluted white glue applied with small pointed brush, and then add some flocking.
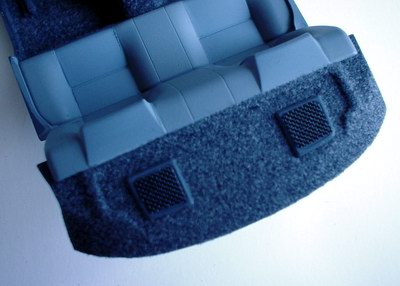
Another great idea that adds more realism to your completed model would be to flock package shelf as well. You can easily see it through rear window, so this small step will add a lot to the look of your car. Speaker grilles in this picture were made of nylon mesh supplied in Tamiya Ferrari 360 Modena kit.
Now, when all the work is done, let's compare plain painted interior...
...and the one that was flocked...
Which one is better? Another great thing about flocking is that it hides some of your mistakes that you made while painting. Hope, you'll find this tutorial useful, and your interiors will look great!
Copyright 2002 Alex Kustov. No copying or reproduction in any shape or form without written permission of the author.