F e r r a r i 250 GTO
|
|
See Also: Gunze Sangyo 1/24 Ferrari 250 GTO Road Car Click on the picture to enter full buildup and gallery.
|
|
|
See Also: Gunze Sangyo 1/24 Ferrari 250 GTO Competition Tourist Trophy, Goodwood 1963, Graham Hill. Finished 1st. Click on the picture to enter full buildup and gallery. |
|
|
|
|
|
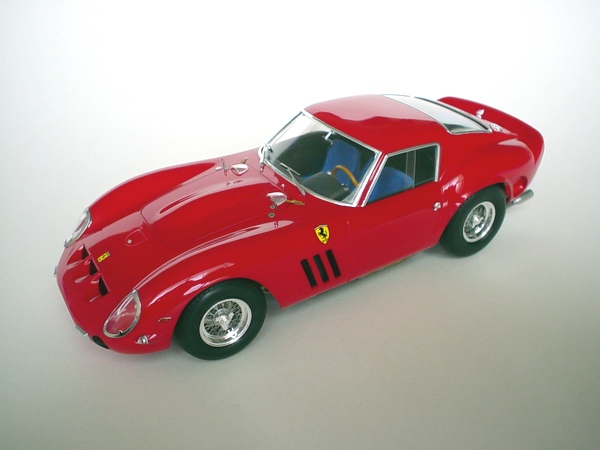
Kit: Gunze Sangyo Ferrari 250 GTO With V12 Engine Pros: Great detail. High parts count allows to build a very detailed replica of one of the best-performing cars in motor racing. Very good body proportions, great photoetched parts, excellent chrome tree, good white metal engine, turned parts, many metal parts give a solid feel to completed model. Cons: Glass is too thick, incorrect tires, parts fit sometimes very bad. Quality of metal castings quite low, and takes a while to clean. All metal parts require CA glue which makes assembly more complicated. Instruction sheet gives only basic color guide, assembly directions are not clear and misguiding. Verdict: This is a complicated model, but represents the car well. Despite its drawbacks the finished kit looks great, however not exactly correct. I would not recommend this kit to somebody just starting building models. Save it till you put together at least 20-30 models - it requires a lot of skill and some tools that you might not have in your toolbox, if you a beginner modeler. |
 |
 |
 |
 |
|
 |
 |
 |
 |
Buildup
This buildup was also published in Model Cars magazine, January 2003 #84, Building a Ferrari 250 GTO
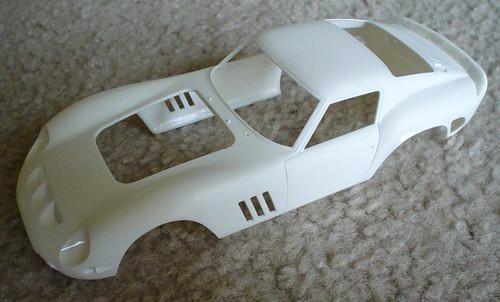 |
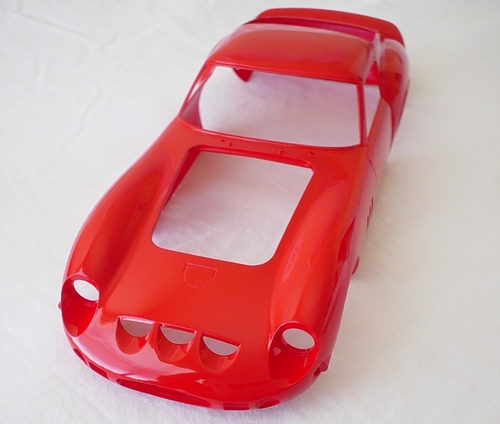
This is the body straight from the box. It is made from very brittle plastic, but responds very well to sanding and cutting. The casting is smooth and has almost no flash or mold lines. |
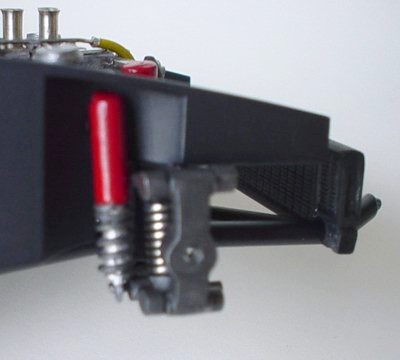 |
This is the right side front suspension. Note the spring (was supplied in the kit) and white metal shock absorber with another spring. This car must be very good in cornering at a high speed! |
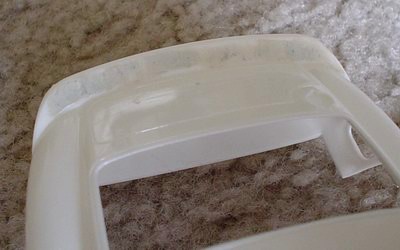 |
The only drawback on the body was a huge sink mark on a rear spoiler. I fixed it with Squadron white putty and smoothed the excess with the fine sanding stick. |
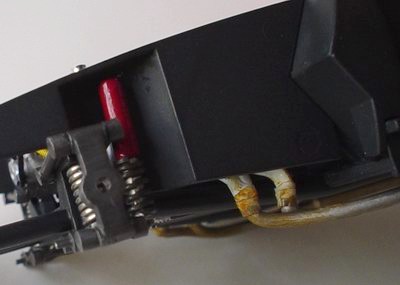 |
Shot of left side front suspension. You can also see the rust where manifold connects to the exhausts. I studied several books and hundreds of pictures, and almost every car has rust spots there. |
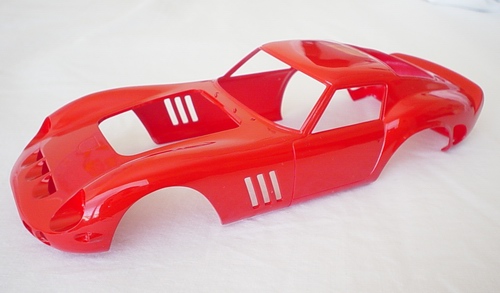 |
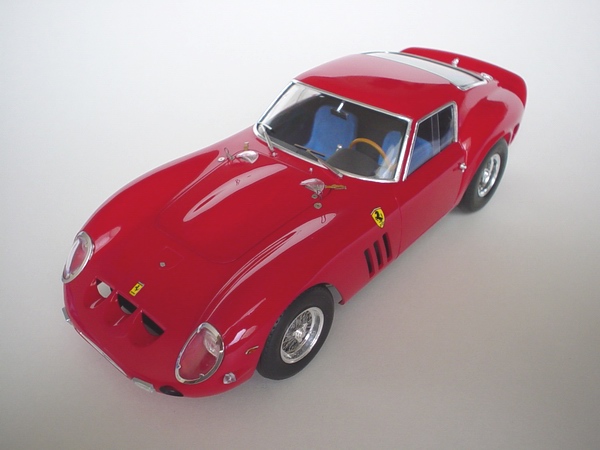
Body was primed with Tamiya white sandable primer, and then painted with 3 mist coats and 3 wet coats of Tamiya Italian Red TS-8 spray straight from the can. |
 |
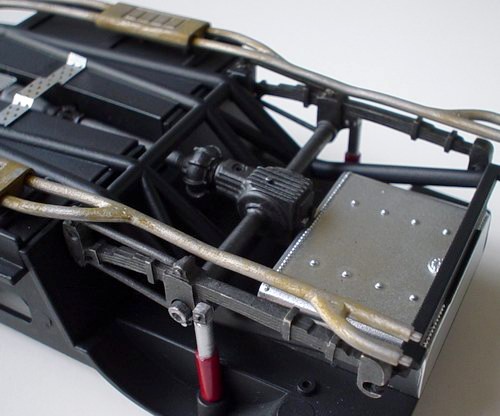
Another look at the chassis, this time with rusted exhausts and mufflers. Part of the chassis will be covered with mudguard plate later. |
 |
When paint has completely dried, I polished it with 3M polishing compound and waxed with Last Detail "The Treatment" model wax. |
 |
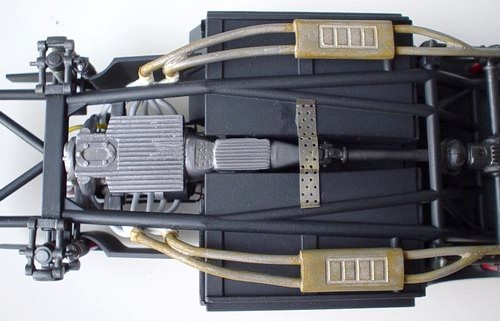
On this picture you can see how the rear suspension is constructed. I used a "see-through" drawing of Nick Mason's GTO to paint the entire chassis in correct colors. |
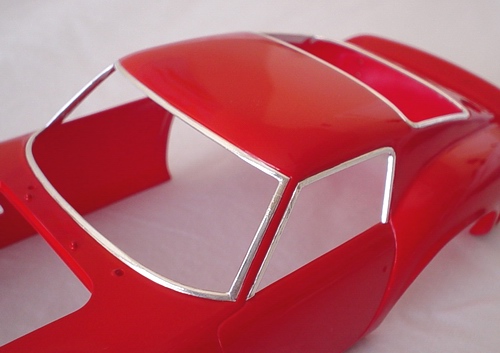 |
Then I applied BMF to the window trim all around. The process is simple since there are no difficult curves. Check BMF tutorial in the tutorial section. |
 |
Completed chassis with wheels and brakes installed. See the mudguard plate? The Borannis in this kit are a bit small, but very nice (10 part PE assembly each). However the tires are terrible, thin, no-name vinyl pieces. |
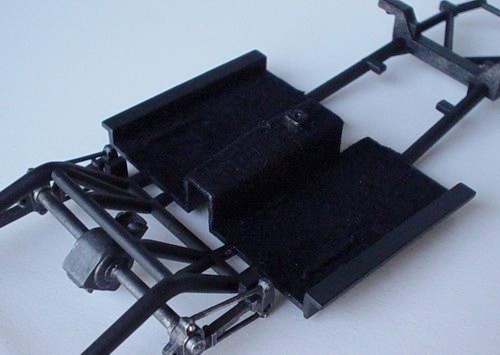 |
The chassis plate has been primed with etching primer, and painted with flat black. Interior was floor flocked with Detail Master black flocking (I was building lightly civilized GTO). Rear suspension was also assembled and differential installed. |
 |
I took this picture when I completed the chassis, just before installing the brakes and wheels. Note a photoetched chassis plate on the left side. Very neat touch! |
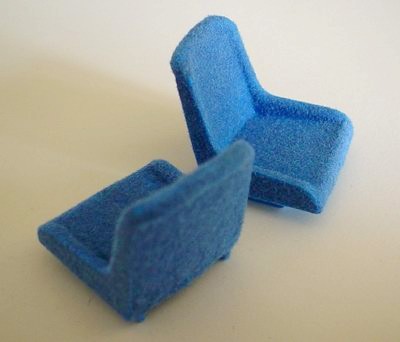 |
The seats in the kit are made from vinyl, so there is no way you can make paint to stick to them well. I sprayed a coat of primer, coat of blue paint, then flocked them. |
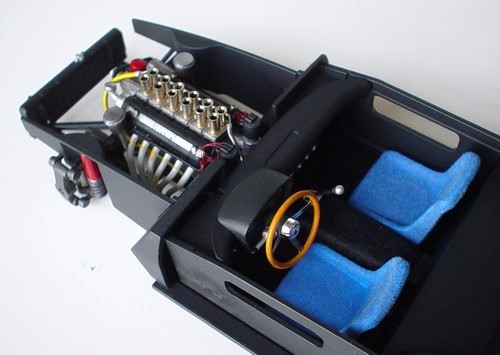 |
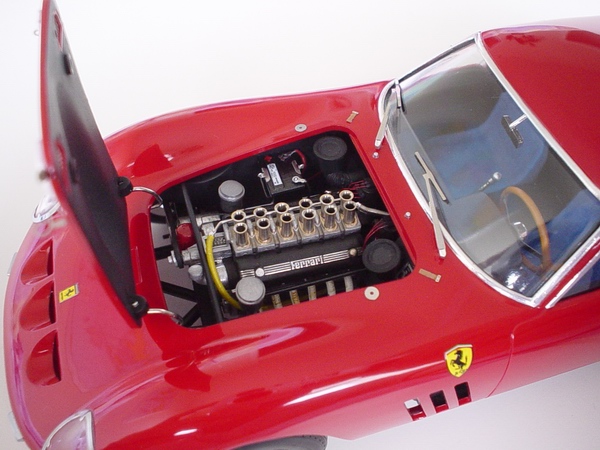
Another shot of the completed engine and interior. Still few parts must be added to the engine bay, but overall, the chassis is complete and ready for the body. |
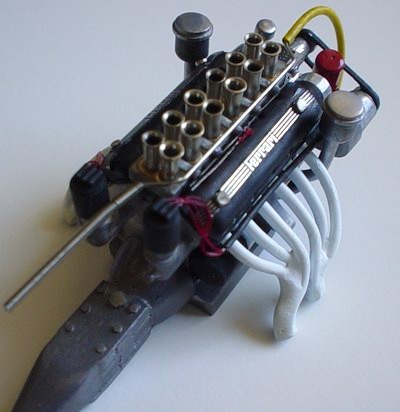 |
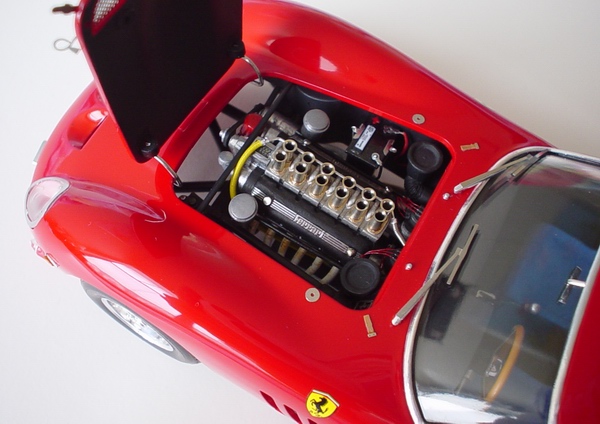
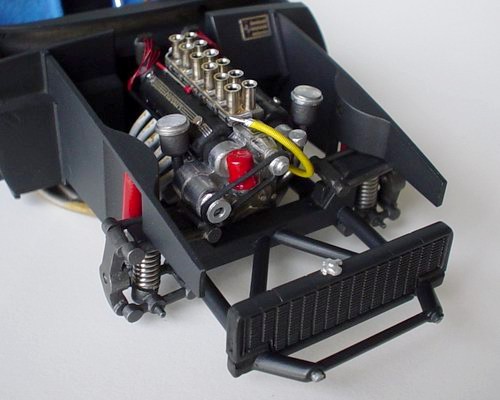
This is a picture of a completed motor. I later did some dry-brushing on carburetors with bronze paint, and with rust paint on exhaust manifolds. Parts of the engine block required quite a bit of cleanup, but turned out good in the end. |
 |
The battery that came with the kit was incorrect and too small! It was looking like a small metal cube! I made a new battery and used Detail Master PE wiring set to make it look more like a GTO battery. Decals are from spares box. |
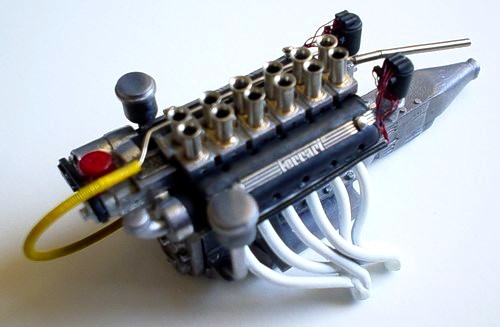 |
Another picture of the engine. Since its made mostly from metal parts, the engine alone weights like an entire plastic model - very solid feel. |
 |
Another shot of the engine bay, this time with battery and steering links, air pipes, and some minor stuff installed. |
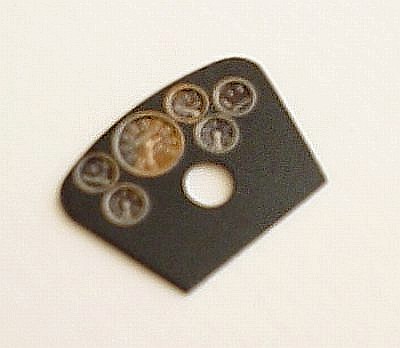 |
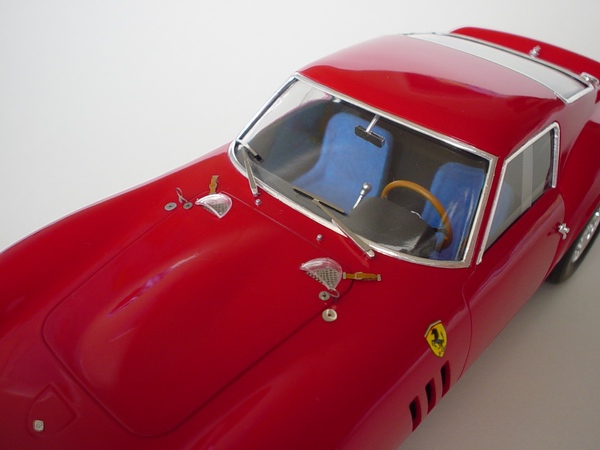
Dashboard instruments: this is actually 3-piece assembly. 2 P/E parts: one with instruments, and one's a cover, and a clear sheet of plastic sandwiched in-between to simulate instrument's glass. |
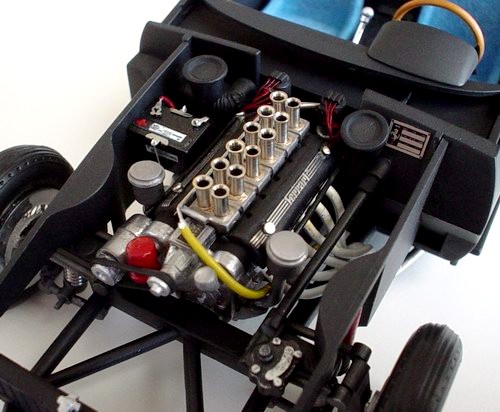 |
Completed engine bay. On this picture you can see the battery and steering box with all its links in detail. |
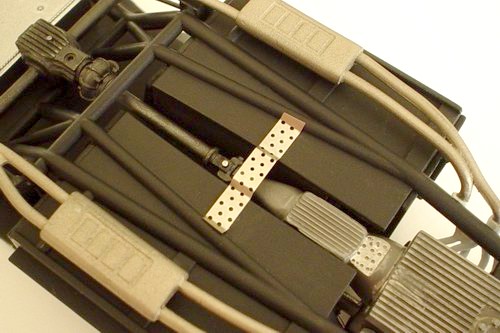 |
On this picture you can see the engine already installed, together with exhausts, driveshaft, exhausts, and other little details. |
 |
Interior. It is pretty simple, but looks great. I painted the steering wheel with a mixture of orange, gloss yellow, and brown paints from Tamiya. |
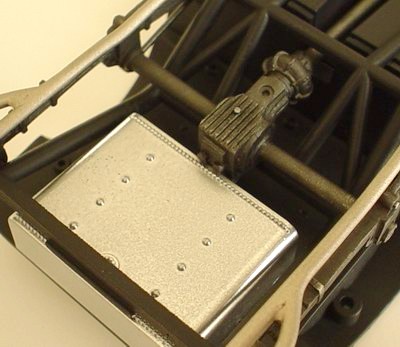 |
This picture shows the location of the fuel tank. It is a plastic part, but I painted it with a Testor's aluminum metalizer to make it look like aluminum. |
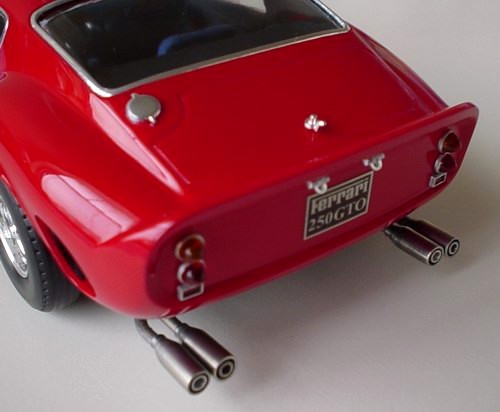 |
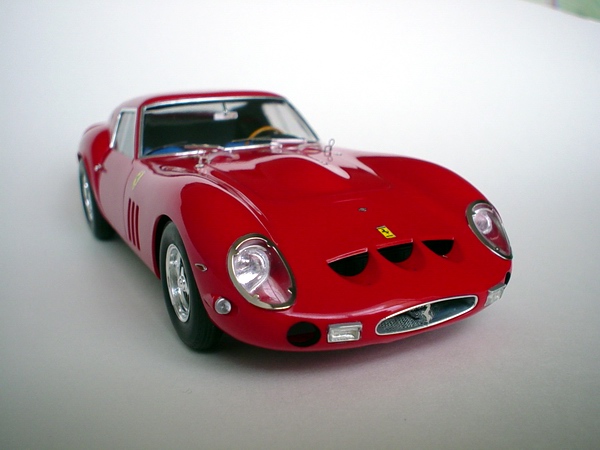
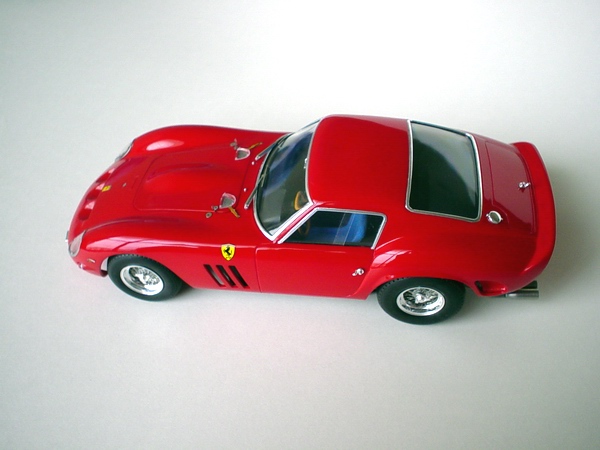
Completed model. This shot shows modified exhaust tips. I installed additional aluminum tubes inside the tips to make it look more realistic. |
Copyright 2002 Alex Kustov. Buildup was reviewed in 2004. No copying or reproduction in any shape or form without written permission of the author.
