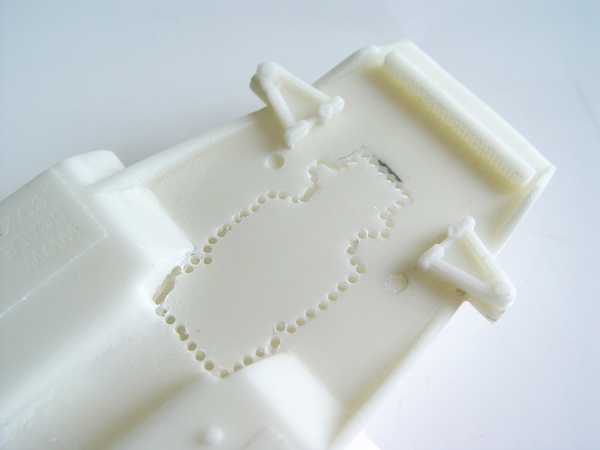
From the very beginning, I decided to put a heart in this Ferrari. In order to do this, the chassis had to be extensively modified. Because of the way the chassis molding was made, it was quite possible. I started by tracing basic engine contour on the chassis and drilling it out with motor tool.
Then brake lines were fitted with brake hoses made from thin Sakatsu black wire.
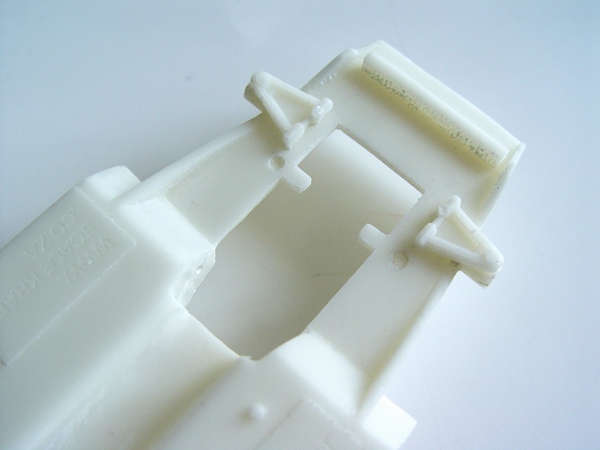
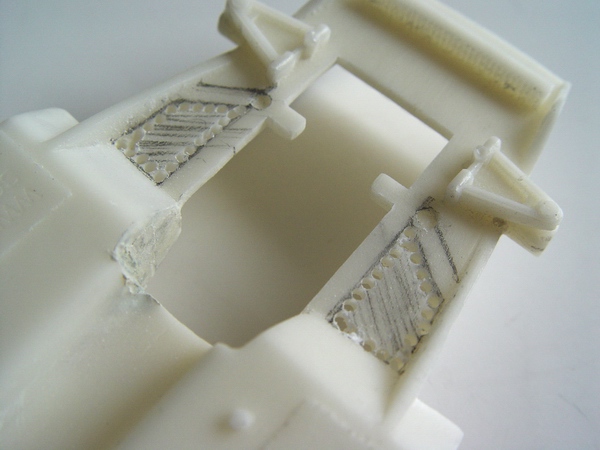
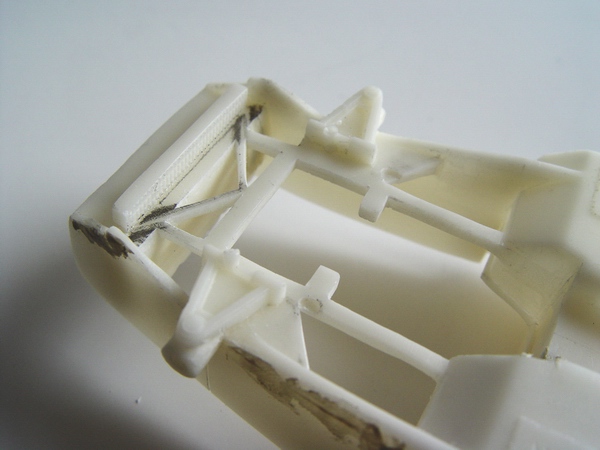
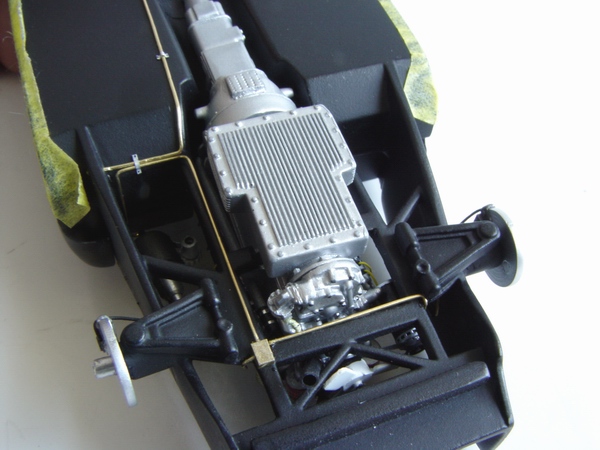
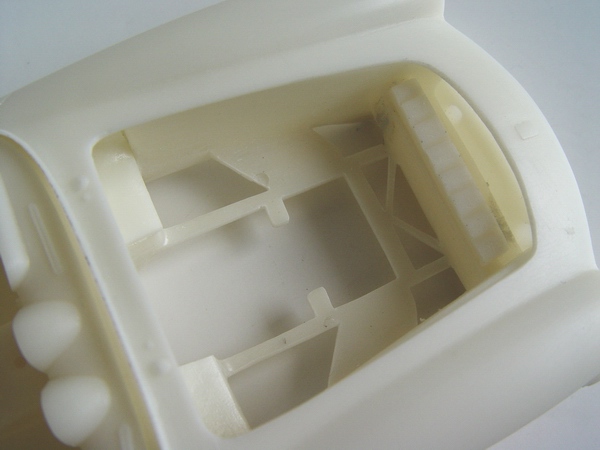
As you can see on this picture, part of the firewall and inner fenders were already molded in the chassis plate, and it was a big plus. Knowing the location of the firewall really helped to determine where the engine would go. Thankfully, the engine bay was made in correct scale and was of proper size to accommodate Replicas and Miniatures engine.
Front lines were installed and fastened to the chassis with tiny clamps made from aluminum soda can. Rivets on the clamps were painted with 0.3 mm permanent black marker.
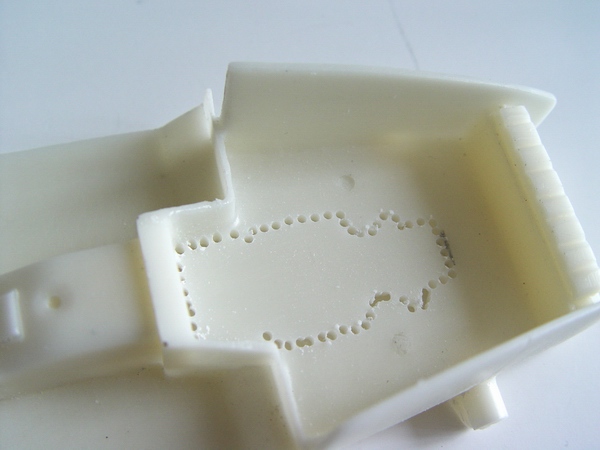
After all drilling of opening for the engine block was done, I carefully cut it out, using my hobby knife with fresh blade. Note that I have left two small tabs for the engine mounts. Engine block was temporarily assembled and test fitted to make sure the opening was correct.
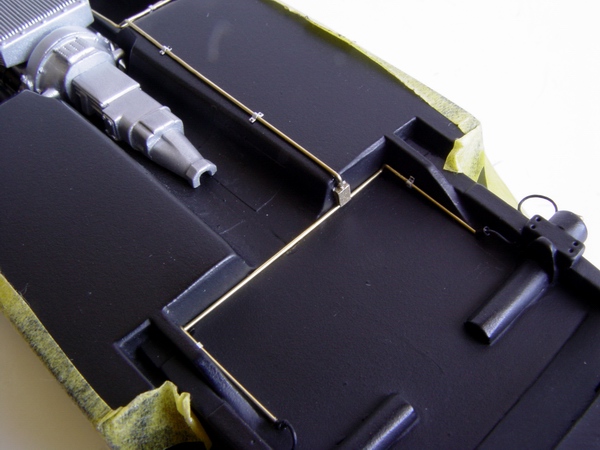
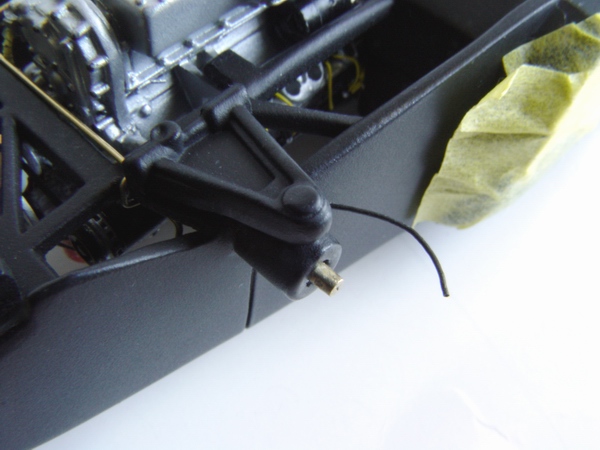
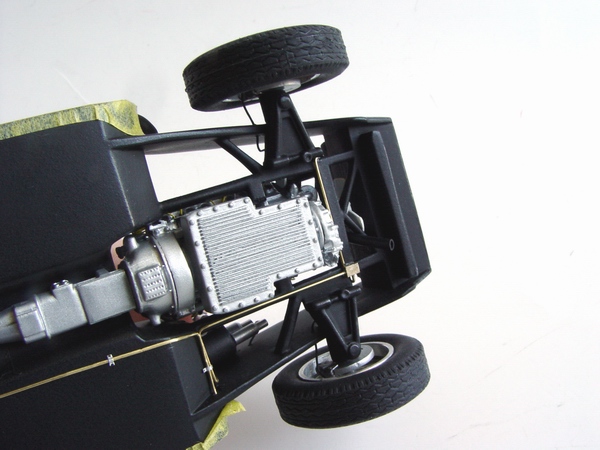
Rear end received similar treatment. Note that brake hoses were routed to the wheels through the holes carefully drilled through the chassis.
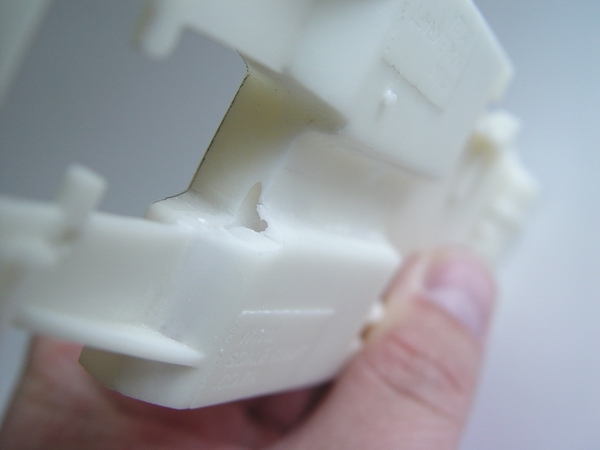
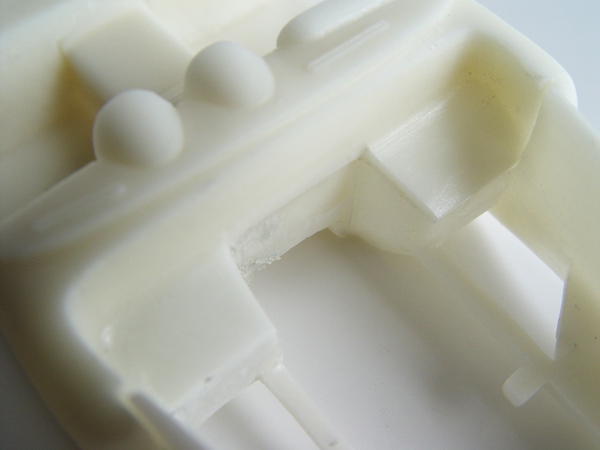
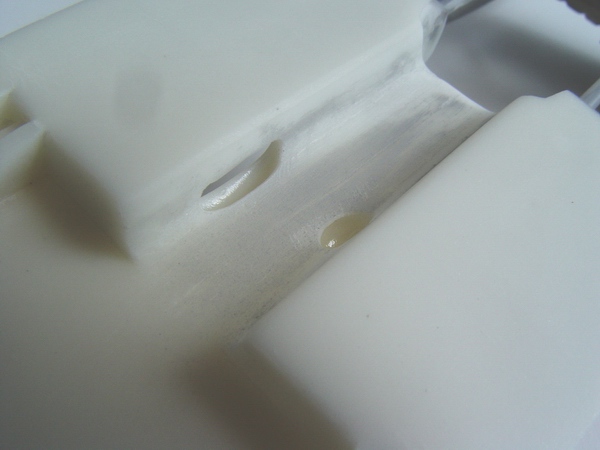
While cutting the hole for the engine block, I discovered a huge flaw in the molding - really big bubble that had to be filled. Meanwhile, edges of the opening were carefully smoothed with sanding sticks.

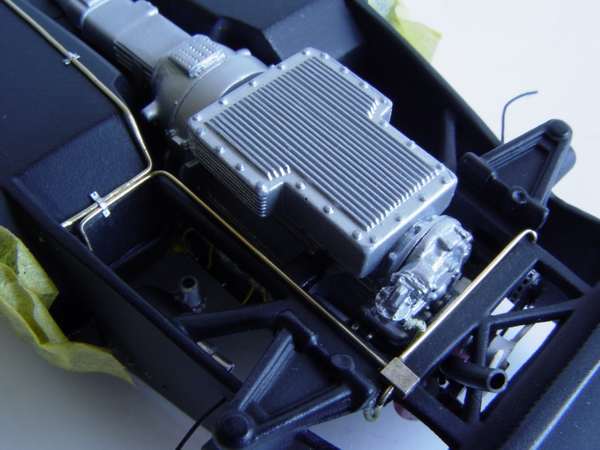
Finally, all the brake lines were connected to a scratch built master cylinder in the engine bay.
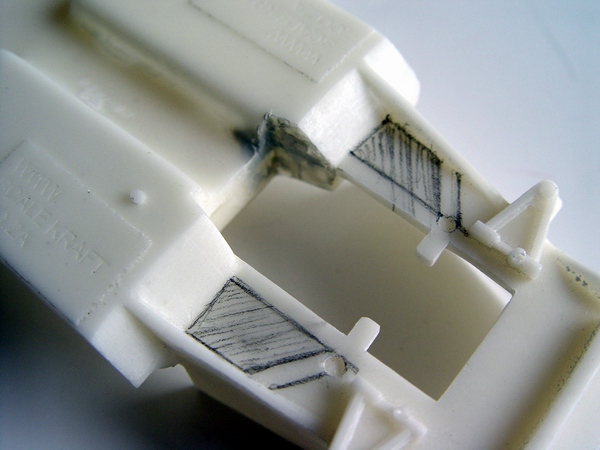
Bubble was filled with superglue/baking soda mix, sanded, and then coated with some Squadron white putty. While the putty was drying, I started marking the chassis in order to cut out the rest of the frame.
After brake system was installed in place, I started working on the suspension, specifically on proper wheel attachment. I didn't want wheels to turn, but I wanted to add brake disks, and make a strong, reliable joint. The axle was drilled, and then I glued in a metal rod of slightly smaller diameter than the hole - you'll see why soon.
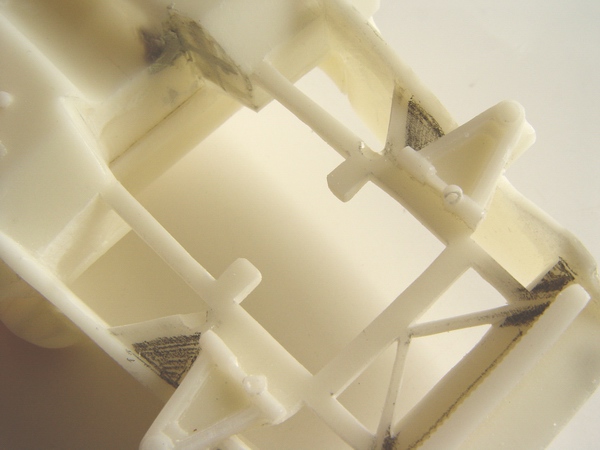
Using the same method as before, both sides were drilled out. The biggest problem here was the holes that were made in the mold for the exhaust manifolds. They were located at the same place as the frame an had to be filled.
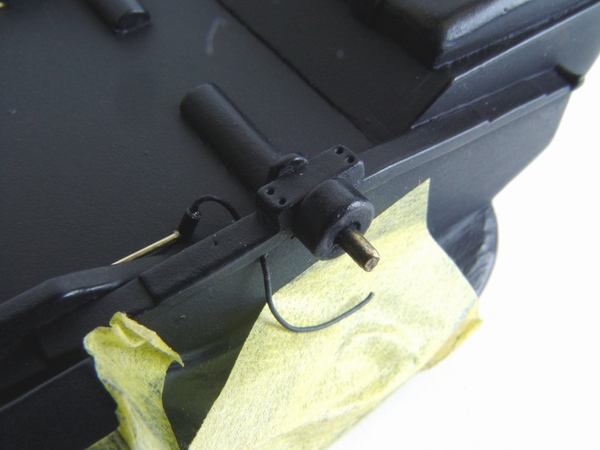
Rear axles were modified in a similar fashion. This picture also clearly shows how brake hoses were routed to the wheels.
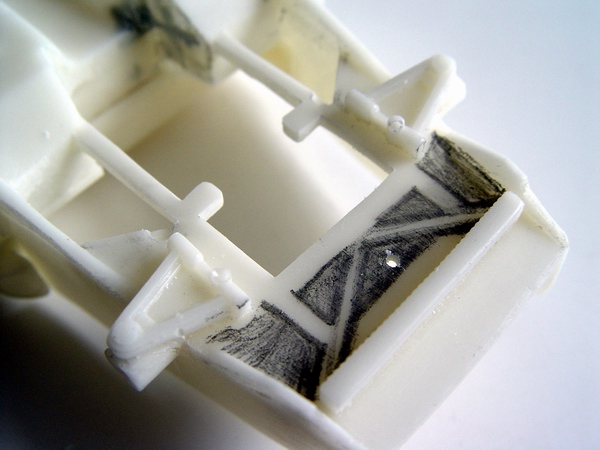
It was even more apparent after cutting the pieces out and smoothing the sides. I reinforced both spots with superglue, and continued marking the chassis.
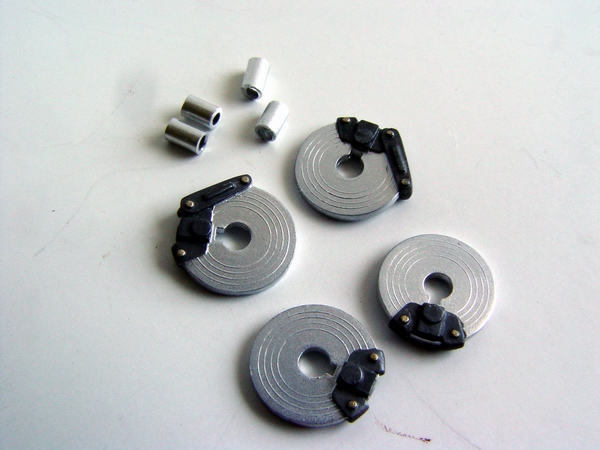
Brakes were sourced from Italeri 250 SWB kit, as SWB brakes are identical to Lusso's brakes. Rotors were painted with Testors aluminum metalizer, calipers with gun metal, weathered with black, and detailed with gold enamel. I also cut small aluminum tubes for the axles.
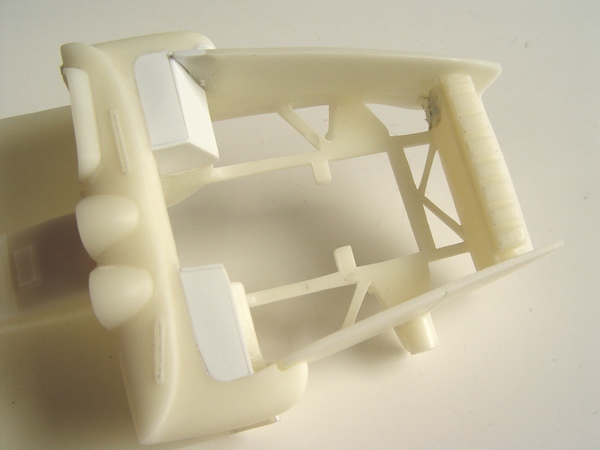
After a lot of careful drilling, cutting and sanding, the frame was all cut out, except for the two small spots next to the A-arms. I decided not to drill A-arms out, since they were too thick, and molded together with inner fenders.
On this picture you can see how I accomplished the task of secure wheel attachment: aluminum tube was glued over the metal rod, between the rod and resin indentation in the axle. The tube was tall enough to accept the wheel axle, providing very secure joint.
On this picture you can see final two spots marked for removal. I had to be really careful and use very thin drill bit while drilling these two pieces out.
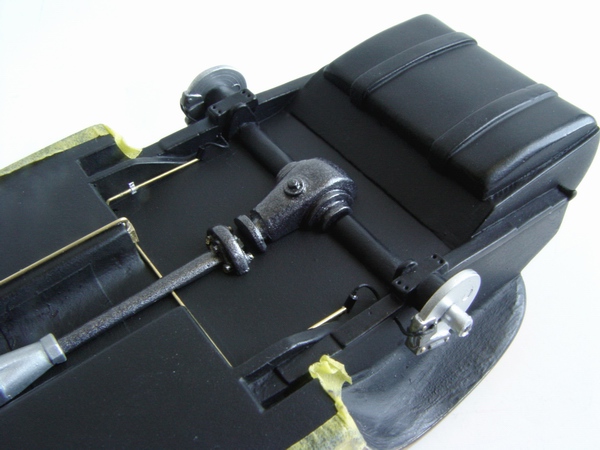
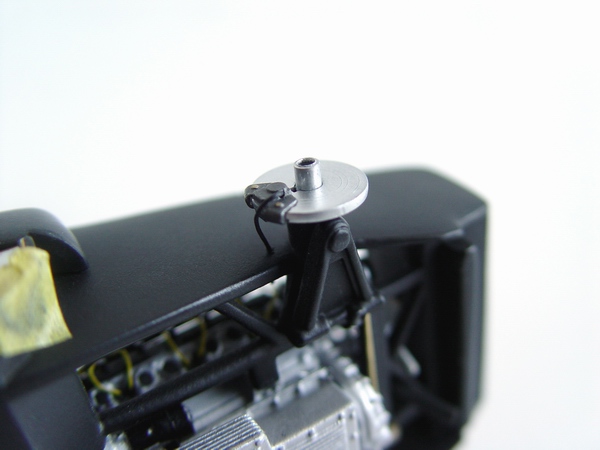
Rear brakes were glued to the axle and brake hoses connected to the calipers. I also added the differential that was painted gun metal, gearbox, and a driveshaft.
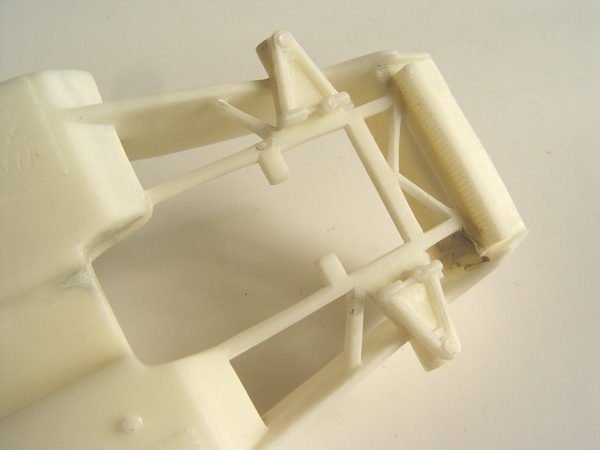
Finally, the frame was all cut out, all rough edges were smoothed with sanding sticks, and I started to carefully round-up the frame (it was made from oval tubing on the real car). Central tunnel bubble was sanded smooth, and another bubble near the radiator was filled with putty.
Front brakes were assembled and plumbed in the similar fashion.
Dashboard was temporarily fitted to the chassis, and central portion was cut out to match the opening in the chassis. I still had to build-up portions of the dash to match the firewall on the reference pictures.
Once the brakes were dry, I glued the wheels. At this point it was critical to test-fit the wheels to make sure they touch the ground at all four corners and make necessary adjustments. I used MG Model photoetched wheels and tires.
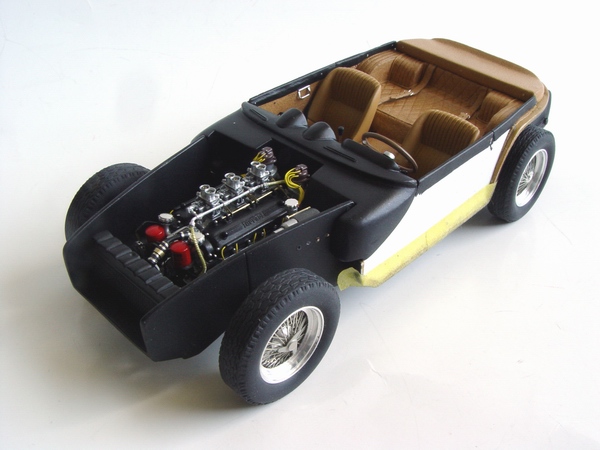
With few pieces of sheet styrene, I recreated the shape of the Lusso's firewall. To match new firewall, I had to make driver's fender extension out of sheet styrene too.
At last, the chassis was sitting on all four wheels and ready for its final modification - exhaust system.
With everything fitting more or less properly, I test fitted the body to check for any interference among newly created firewall, fenders and the body. Everything was fitting good.

Original exhausts were not good. I cut off everything and used only the mufflers. They were cleaned and sanded smooth, then drilled to accept two aluminum tubes of suitable diameter. Clamps were made from sheet styrene.
With biggest modification completed, I started cleanup of the rest of the chassis plate. All surfaces were cleaned and block-sanded smooth. When I was cleaning central tunnel, I discovered two more big bubbles - all the way through to the interior - both were filled and sanded smooth.
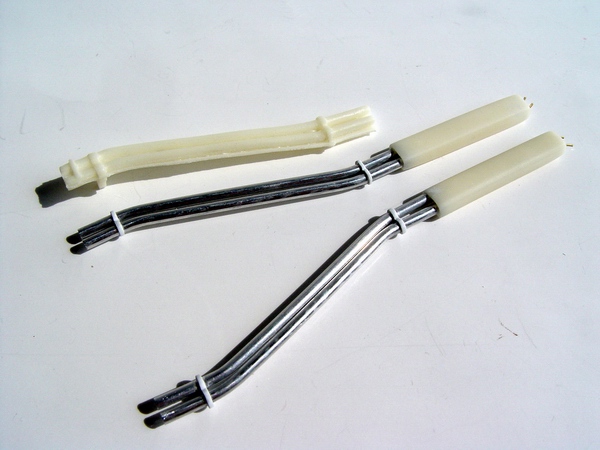
Exhausts were assembled and fitted to the mufflers. They look much better and more accurate than the ones provided in the kit.

After all the preparation and cleanup was finished, I sprayed a coat of gray Tamiya primer on the entire chassis, then masked interior portion and painted the chassis flat black. Then I continued with engine and interior buildups.
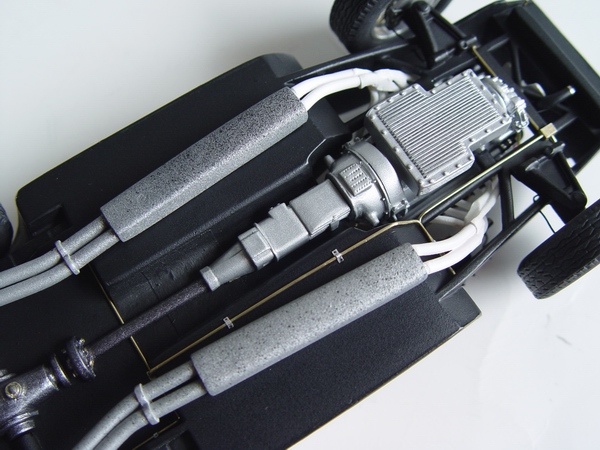
Exhausts were painted with various metalizers and weathered with black paint and washes. I used flexible tubing painted flat white to connect exhausts to the engine manifolds.
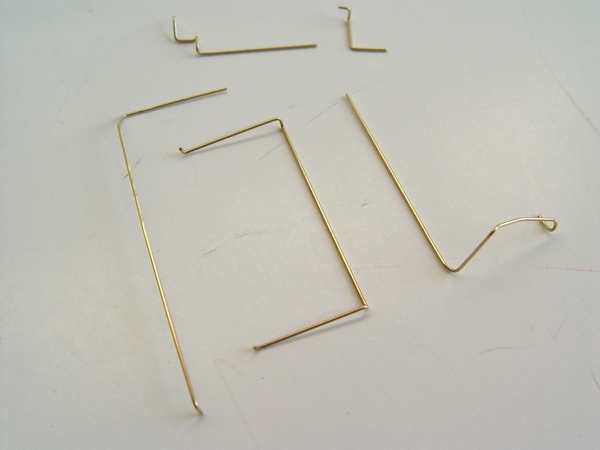
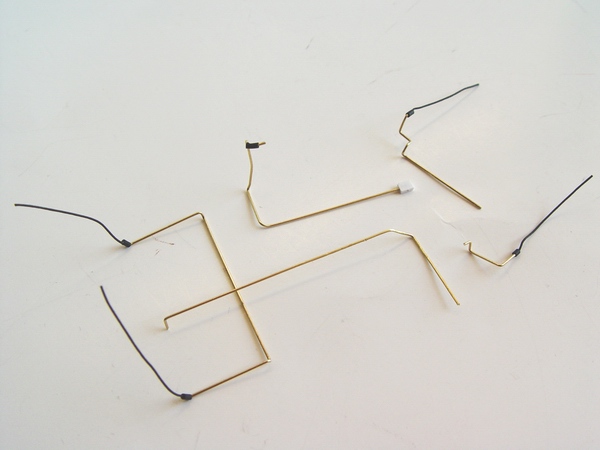
When most of the work on the interior and the engine was completed and engine was permanently installed in the chassis, I started planning the brake system. Looking at the reference pictures, I bent few brake lines for both front and rear. Every single line was carefully test-fitted to the chassis.
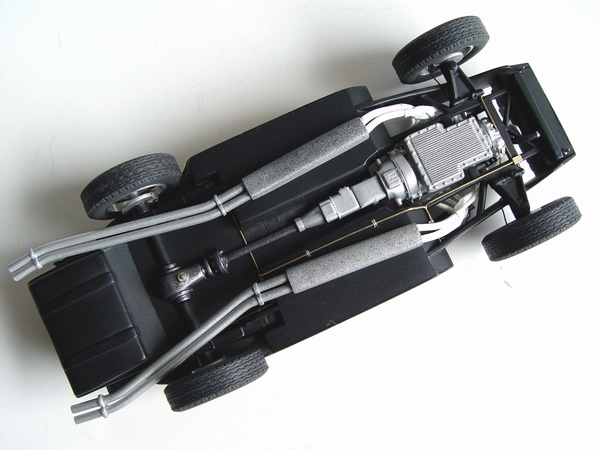
Finally, exhausts were properly positioned and attached to he chassis. The underside was complete!